D8.4 Train in Model Studio (2a)
See the working text for this QS in
- #619_.docx.
- Demo URL there are actually many … this was a chaotic demo.
TOC
- 1b.1a project + folders
- 1b.1b Action: In your Foundry project, Select +New > Modeling Objective.
- 1b.2b Action: Download data
- 1b.3 How to manage machine learning models (NO ACTIONS)
- 1b.4 Project context (How to manage machine learning projects)
- 1b.5 Next step
4. Tutorial: Train a model in Model Studio
https://www.palantir.com/docs/foundry/model-integration/tutorial-train-model-studio
Before starting this part of the tutorial, you should have completed the modeling project set up.
In this part of the tutorial, we will train a model using Model Studio. We will cover the following steps:
Create a model studio
Configure a model studio training job
Monitor a training job
View the model and submit it to a modeling objective
4.1 Create a model studio
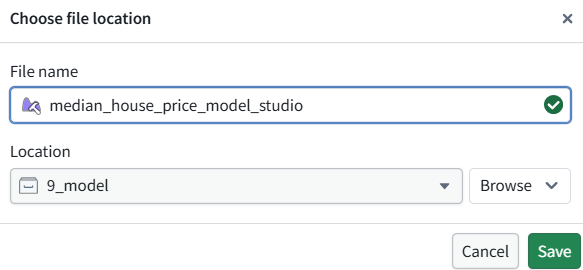
Action: In the code folder you created during the previous step of this tutorial, select + New > Model studio. Your model studio should be named in relation to the model that you are training. In this case, name the studio median_house_price_model_studio. Select Save to create and open the studio.
4.2 Configure a Model Studio training job
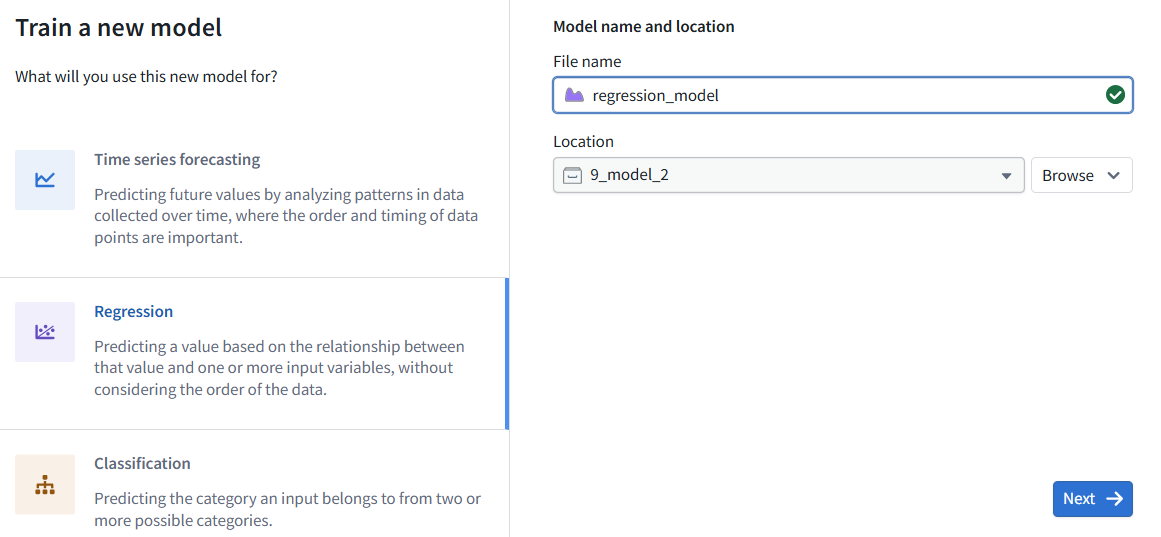
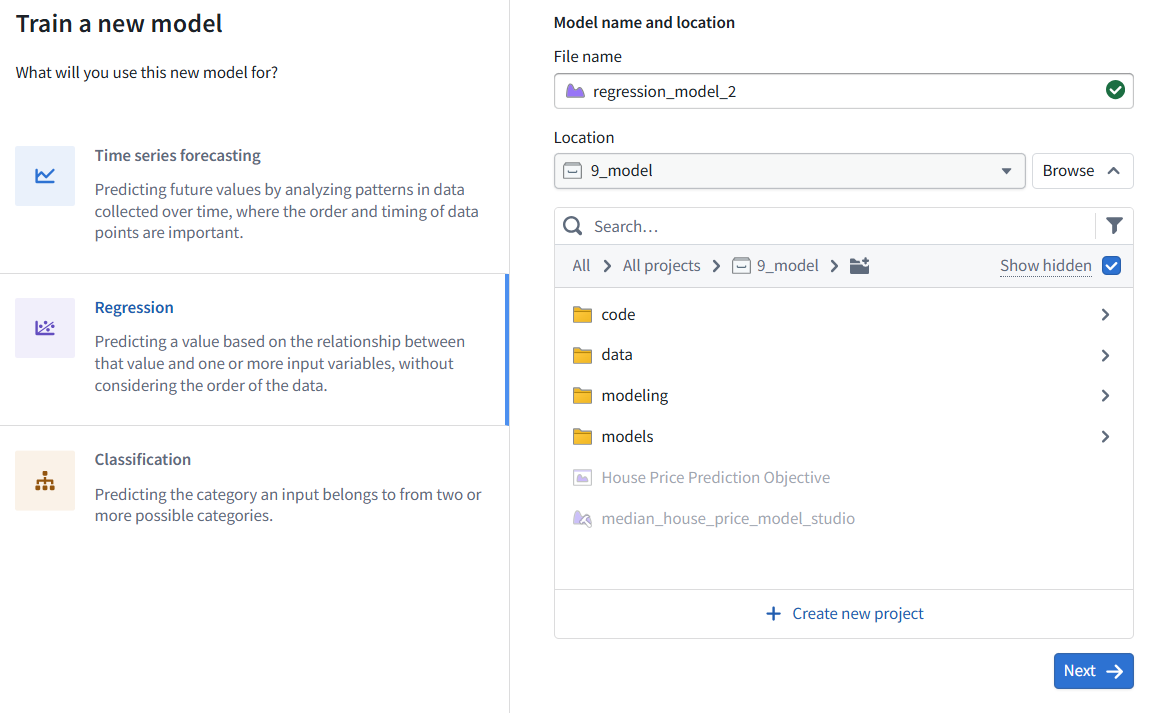
Once the model studio is created, you will be presented with options for the type of trainer you would like to use. In this tutorial we will predict the median house price, which is a regression problem.
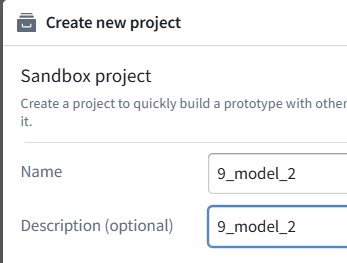
Action: Select the regression trainer. We need to provide a name and location for storing the output model from the studio, so name the model regression_model and set the output location to the models folder that was created earlier. Once all the options are set, select Next to continue.
Dataset mapping
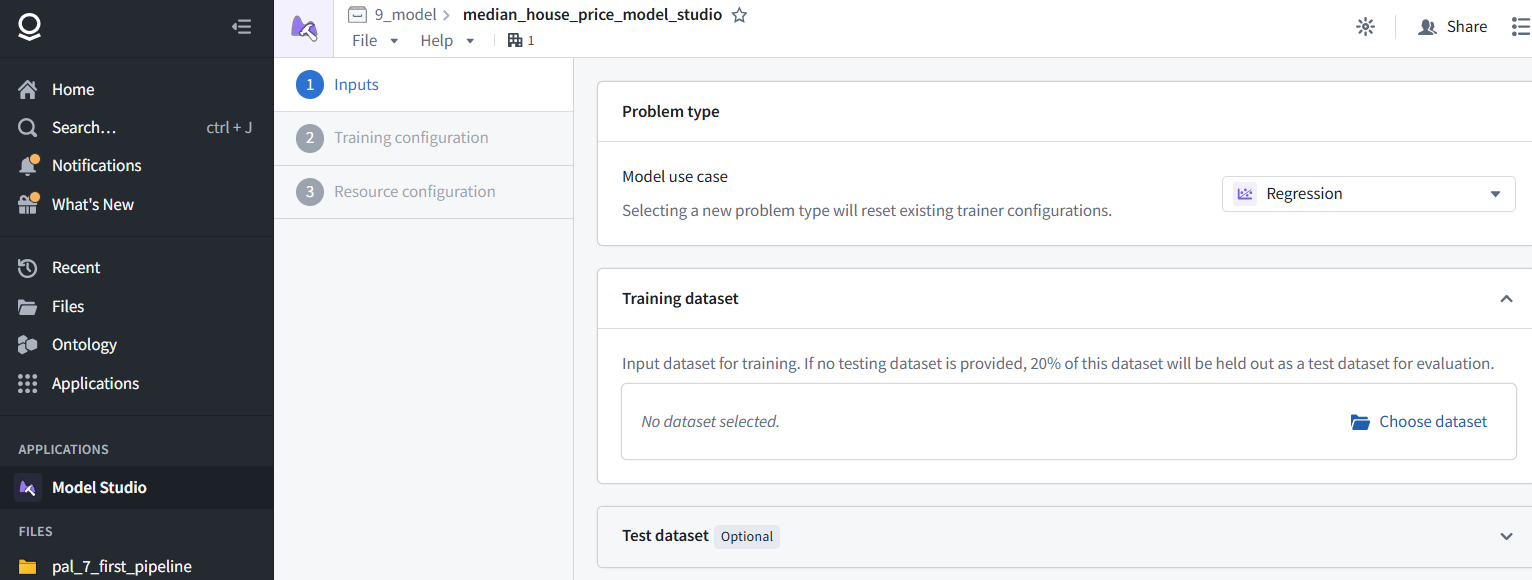
Model Studio requires users to map datasets to inputs that are predefined by the trainer. Since we only have a single training dataset, we will map that to the Training dataset input. Model Studio will automatically do a train-test split, splitting off 20% of the data for validation and testing.
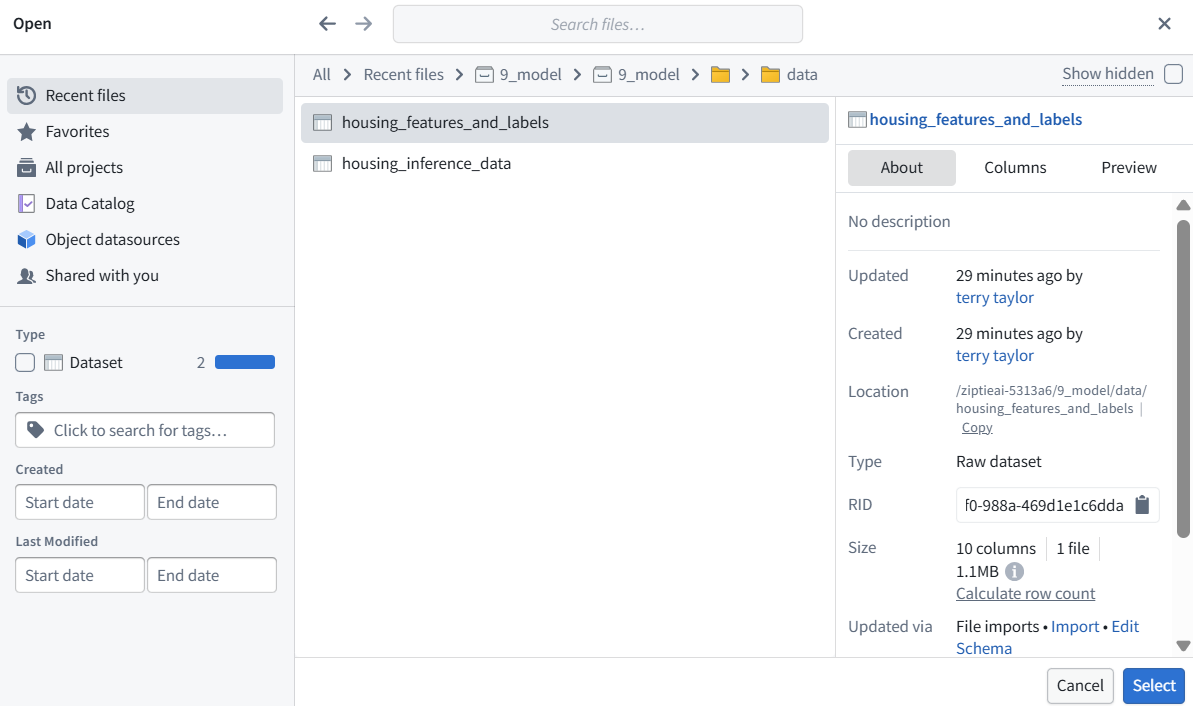
Action: In the Training dataset card, select Choose dataset and select the housing_features_and_labels dataset in the dialog.
Optional: Once the dataset is selected, you can use the Preview button to open a preview panel at the bottom of the page to preview your dataset, or expand the Filters area to define filters to apply to the dataset.
Once the dataset is selected, we need to tell the trainer what certain columns mean. In this case, we want to tell the trainer that the median_house_value column is the target column.
Action: In the dropdown to the right of Target column, select the median_house_value column.
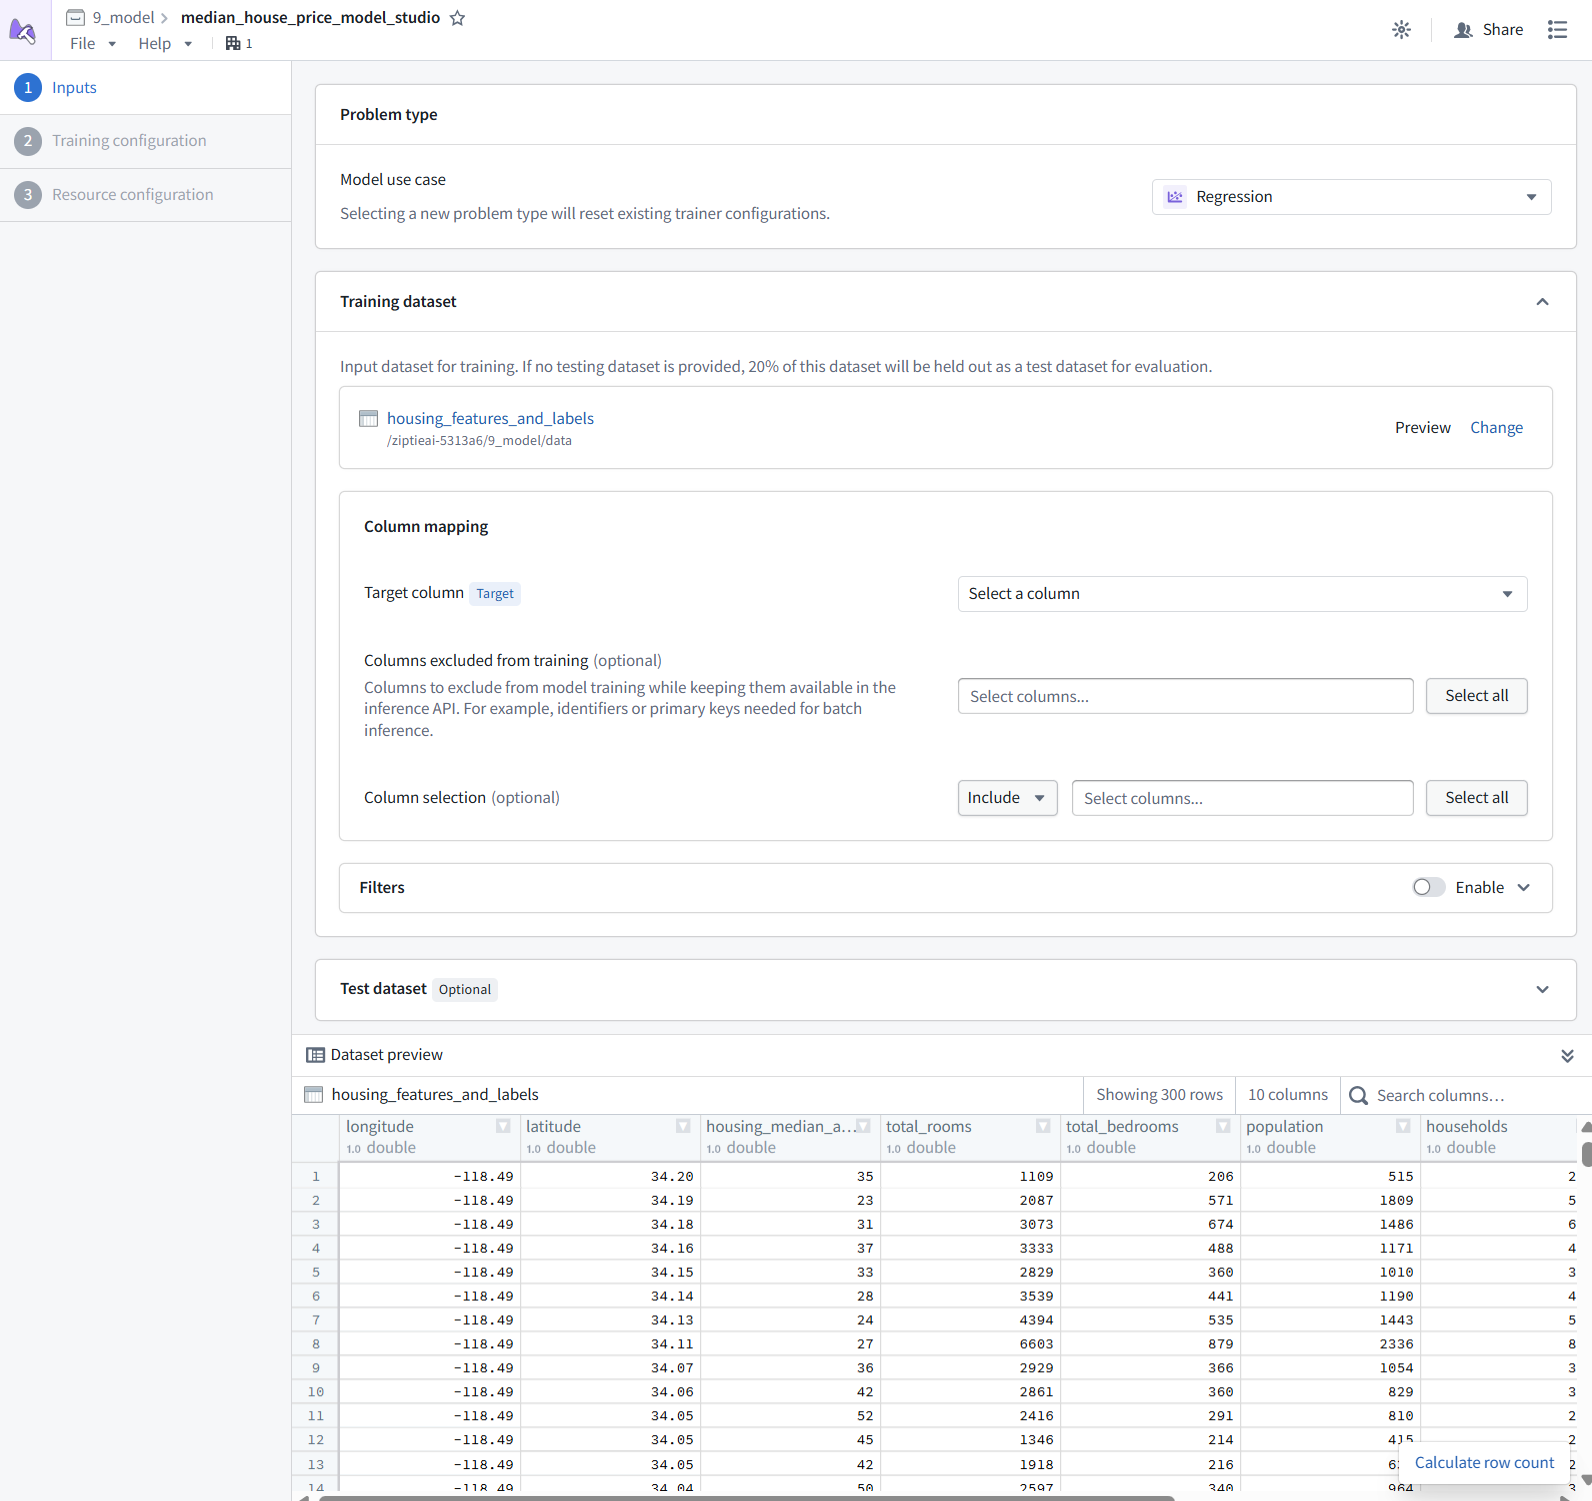
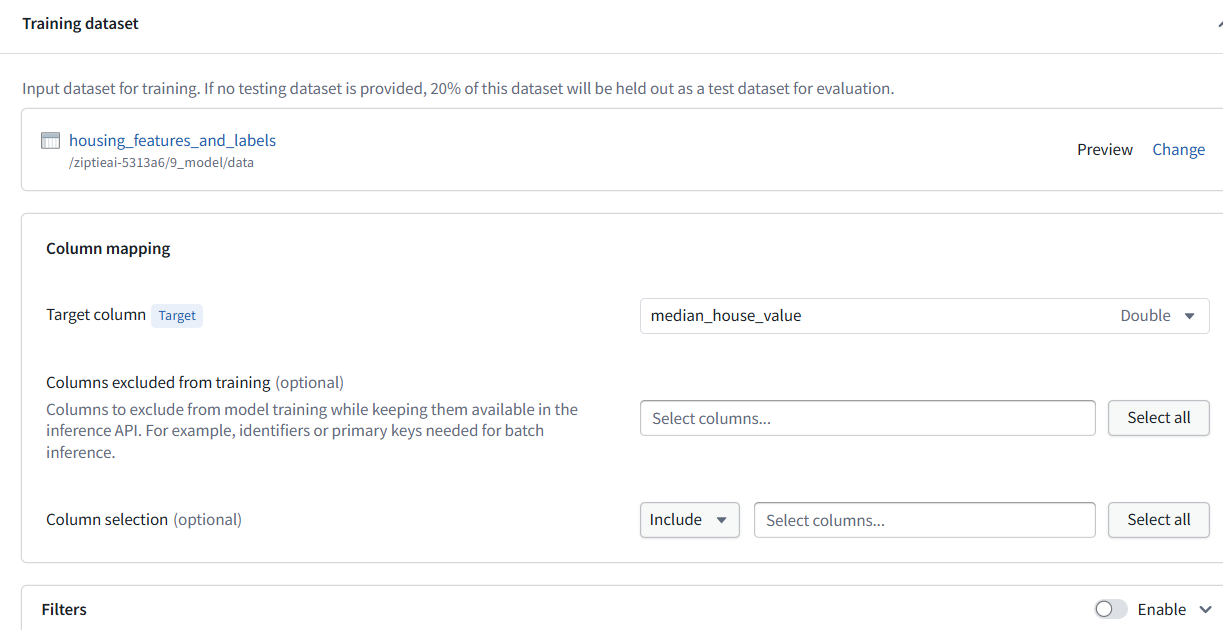
Once the dataset is properly configured, select Next to continue.
Parameter configuration
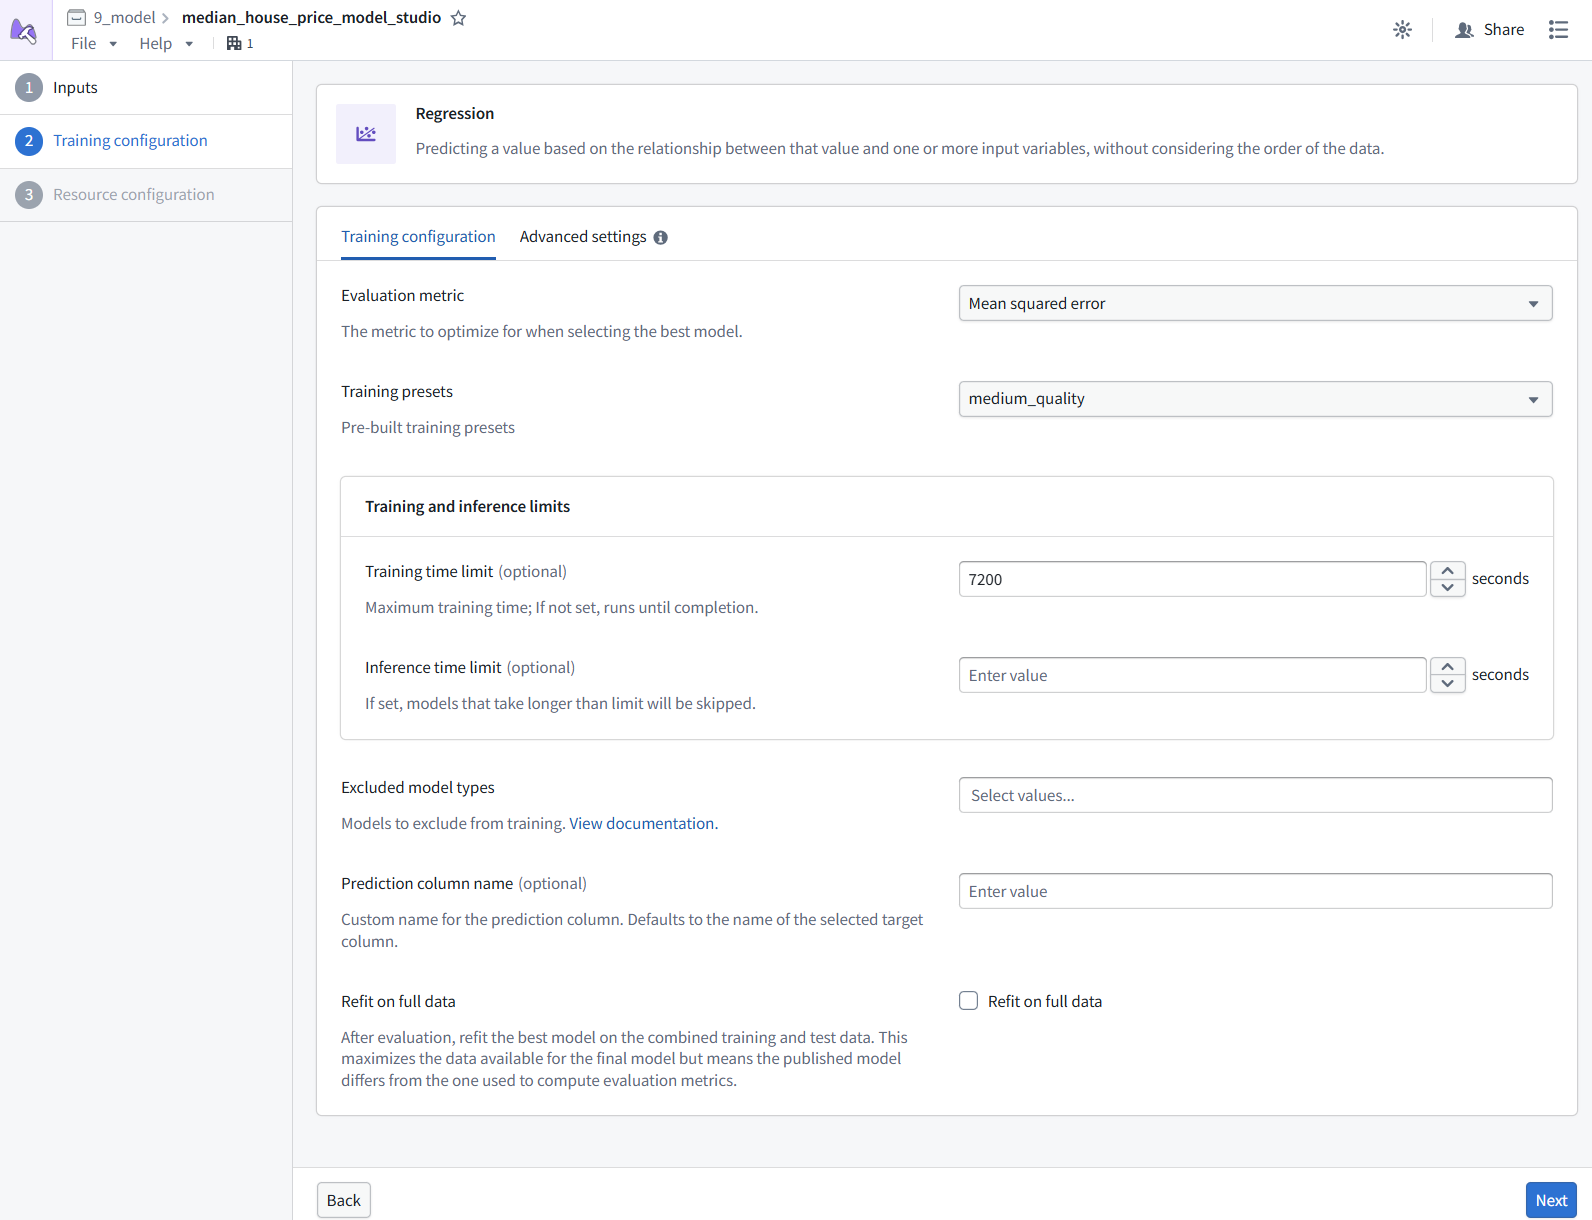
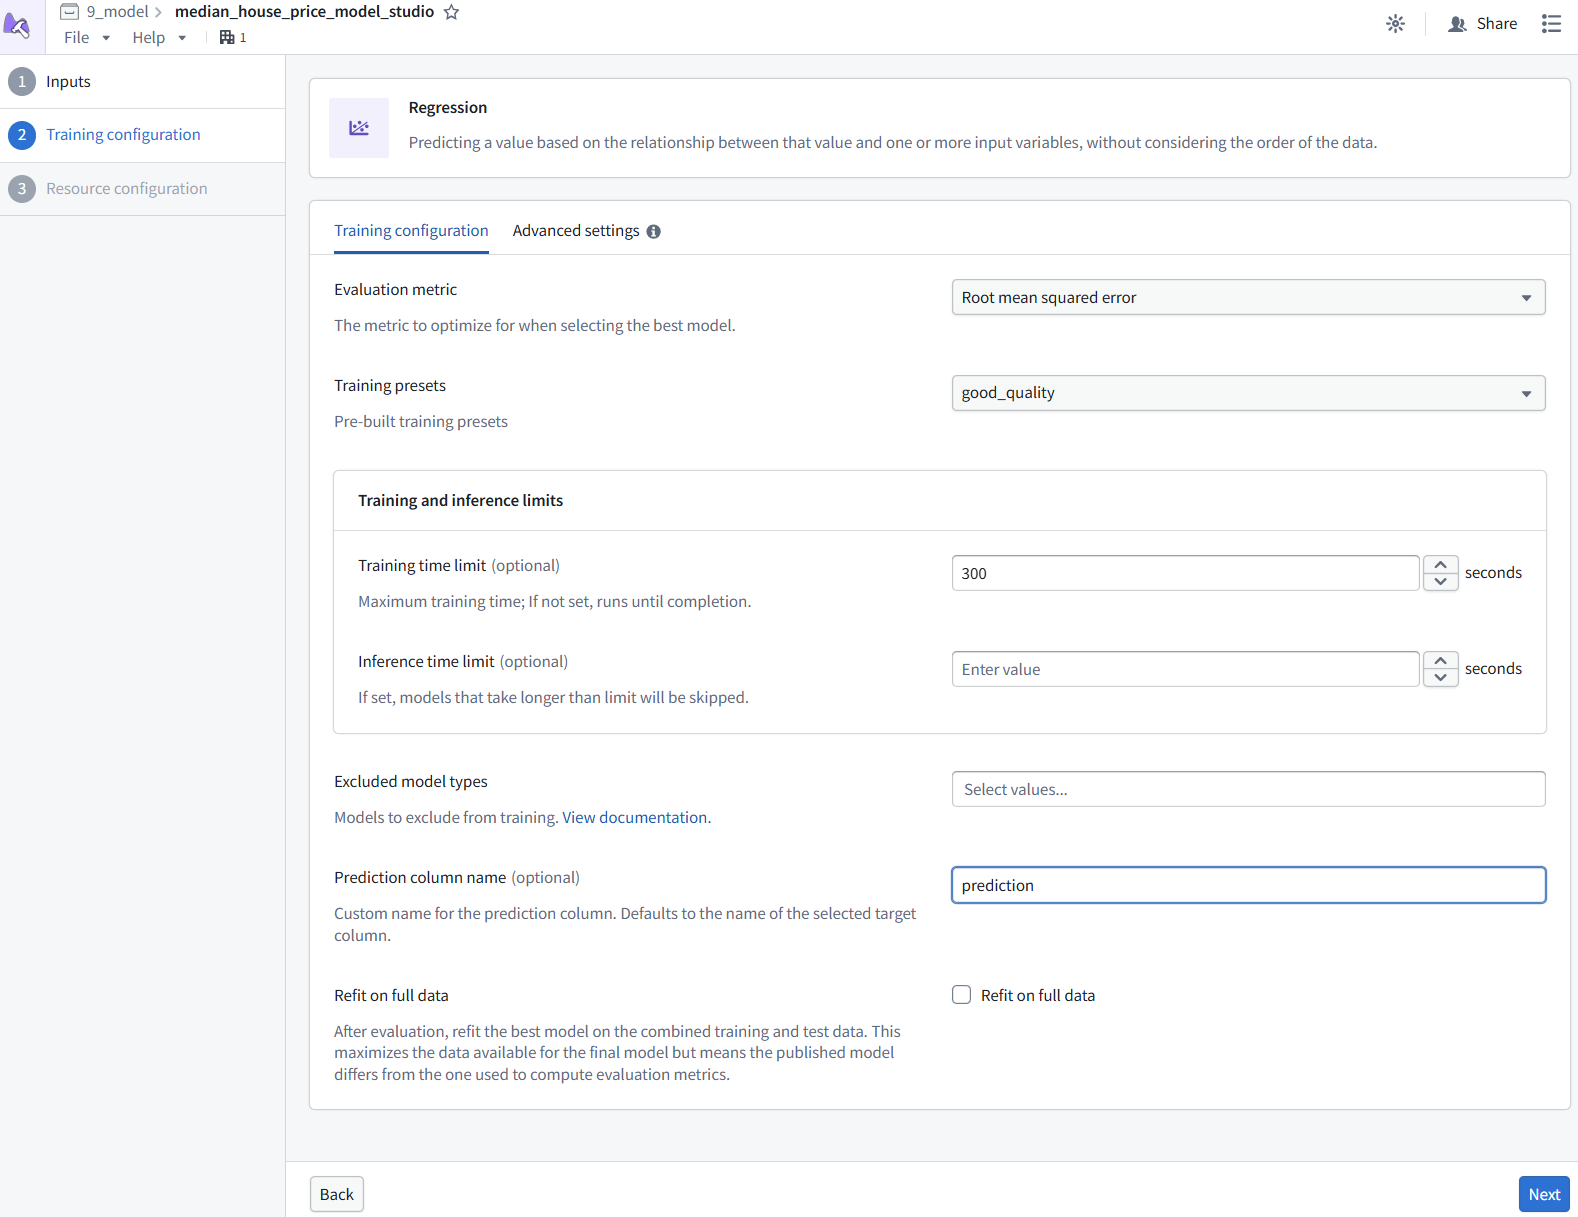
Model Studio trainers offer a set of configuration parameters that users can optionally change to improve model performance. Learn more about the regression trainer’s parameters.
Action: For this tutorial, we are finding the balance between speed and predictive accuracy. To do so, we will set the following parameters:
Evaluation metric: Set this to root_mean_squared_error.
Training preset: Set this to good_quality, which will provide advanced ensembling techniques while keeping training speed fast.
Training and inference limits > Training time limit: Set this to 300 seconds.
Prediction column name: Set this to prediction.
Leave all other parameters at their default values.
Resource configuration
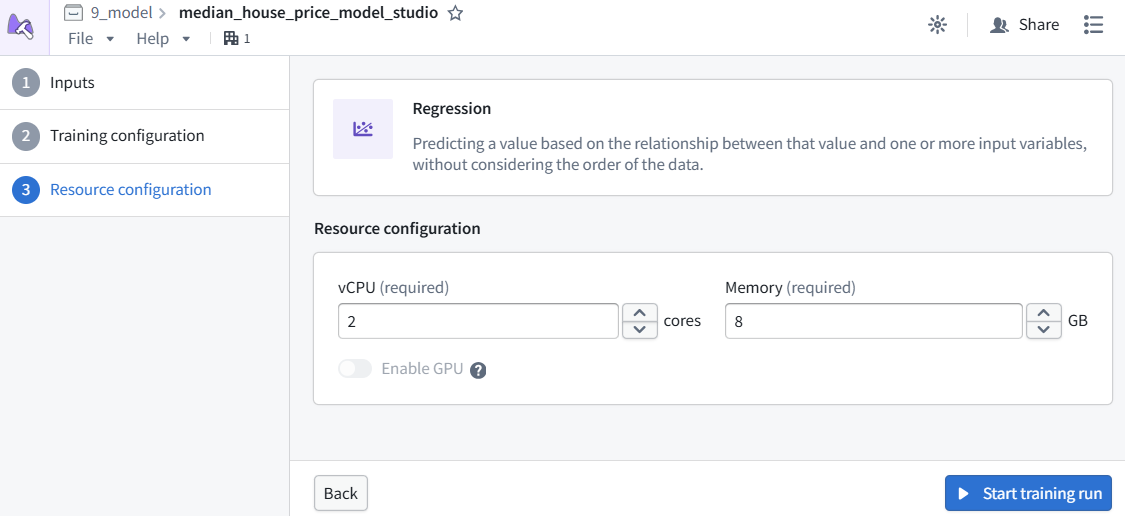
To provide the model studio with adequate resources, we need to increase its resources from the default values.
Action: Set the vCPU value to 2 and the Memory value to 8 to provide 2 vCPUs and 8GB of memory to the job.
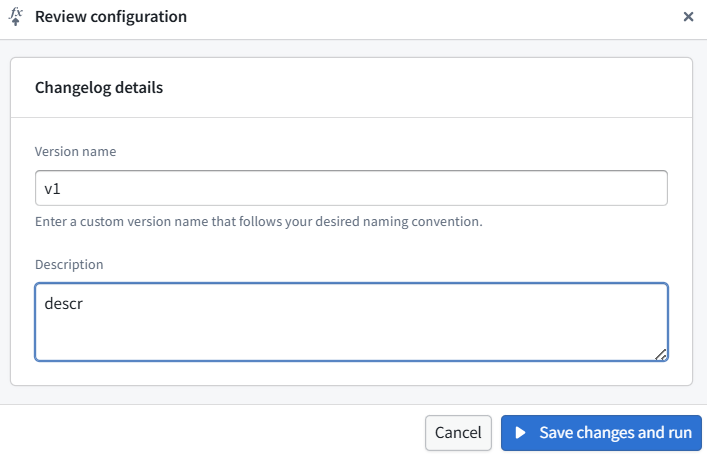
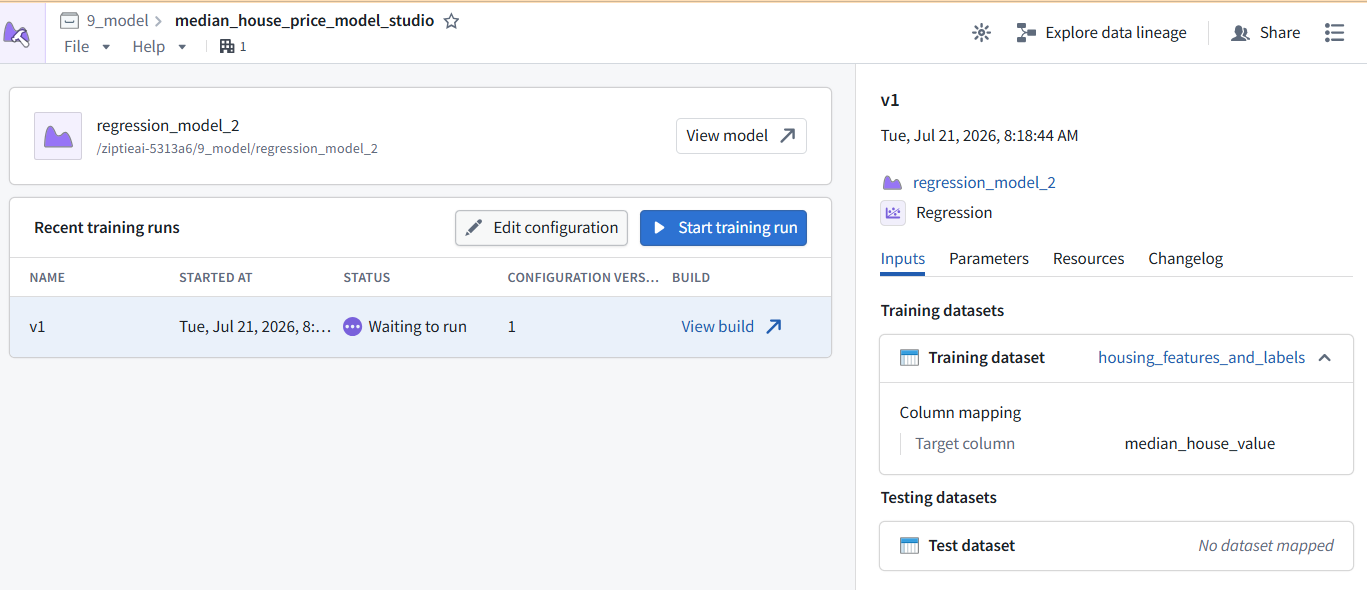
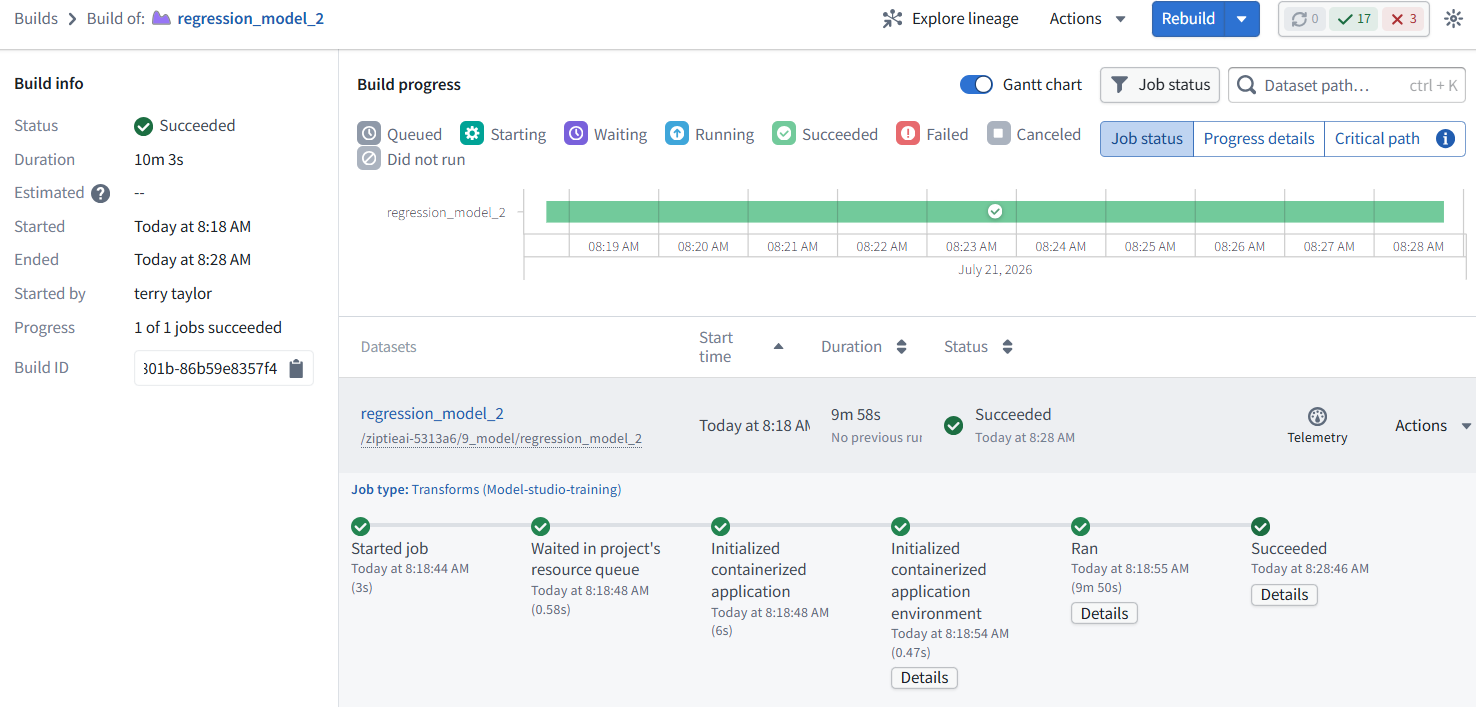
Once resources are properly configured, select Start training run, which will open a dialog asking you to enter a configuration name and changelog. For the name, enter Initial and leave the changelog blank. Then, select Start training run to launch the build.
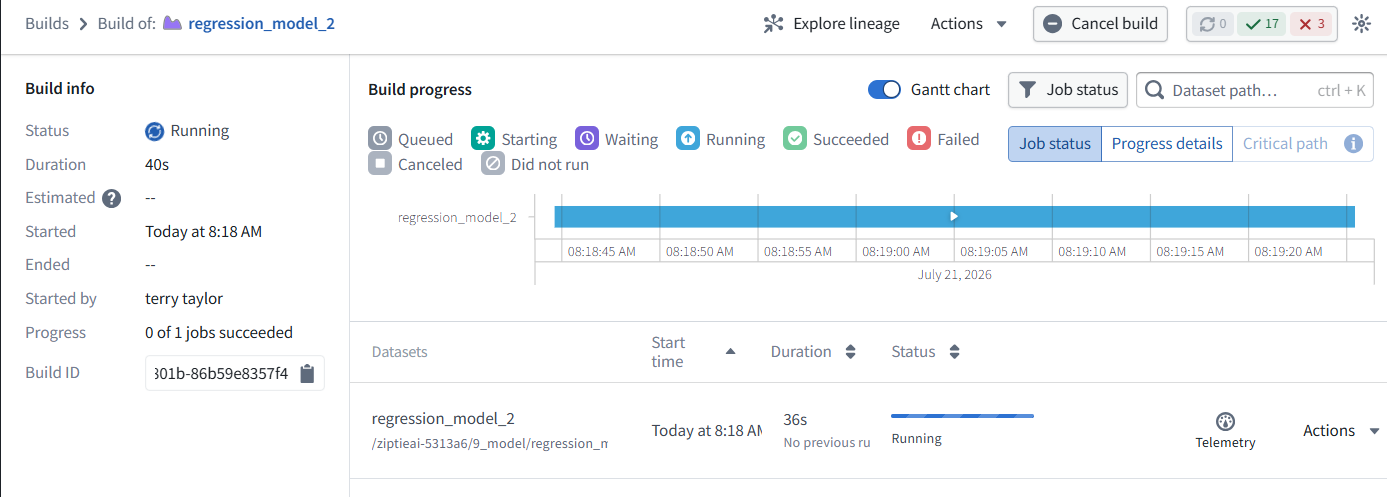
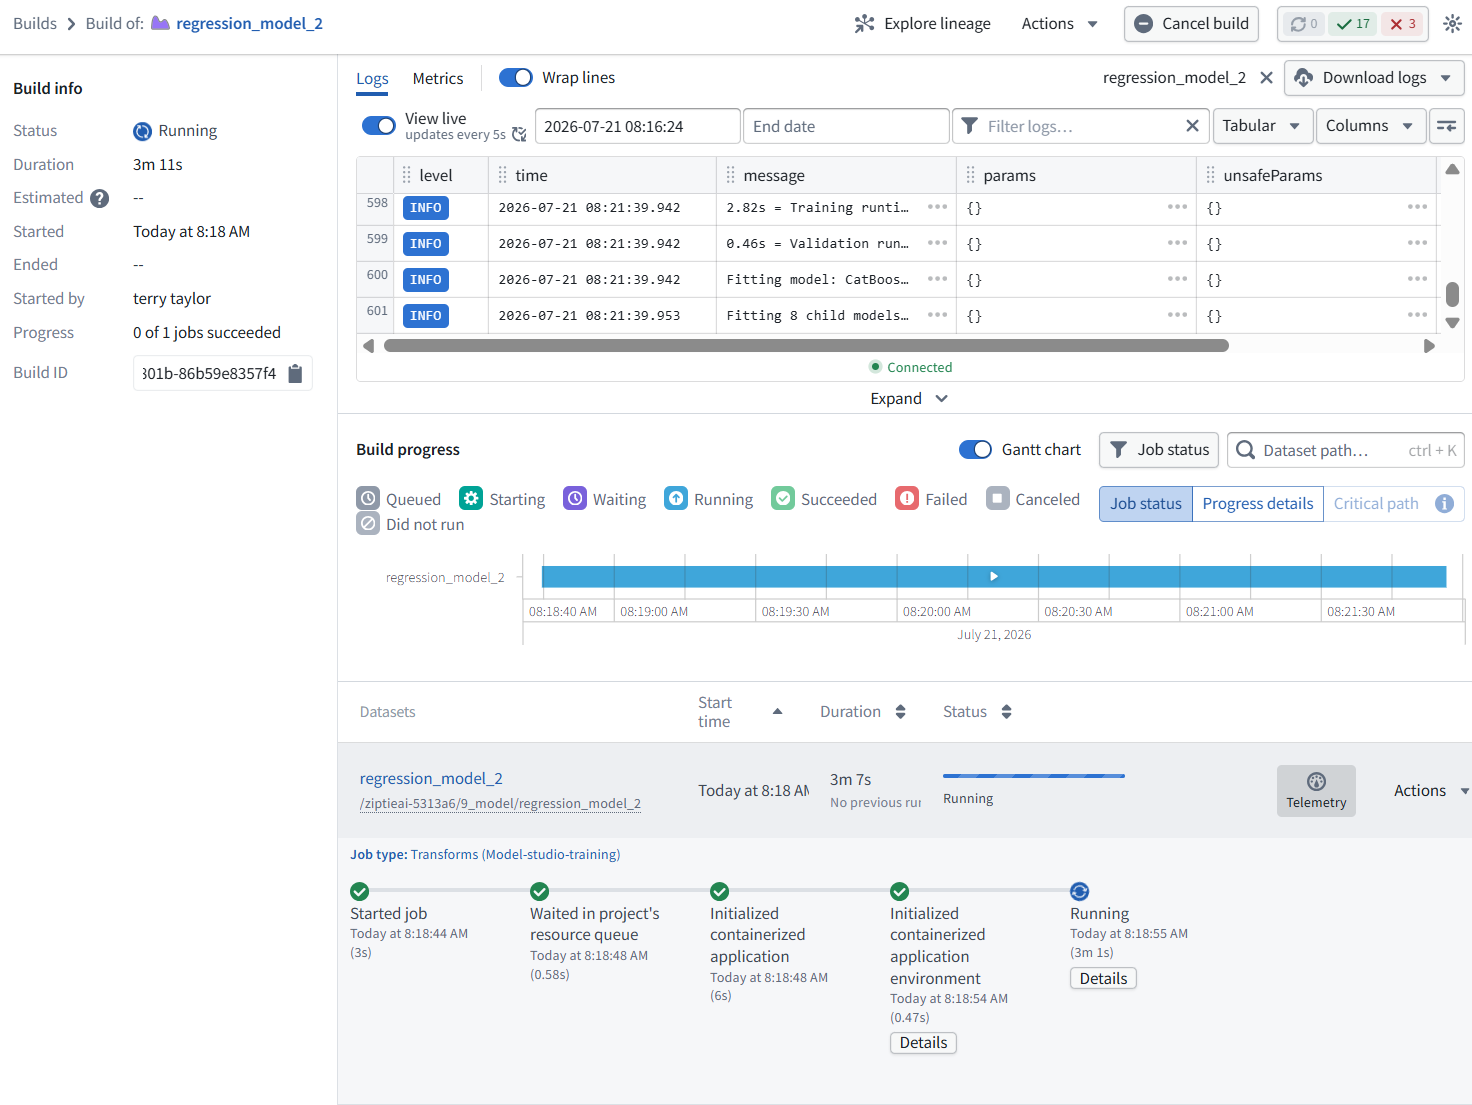
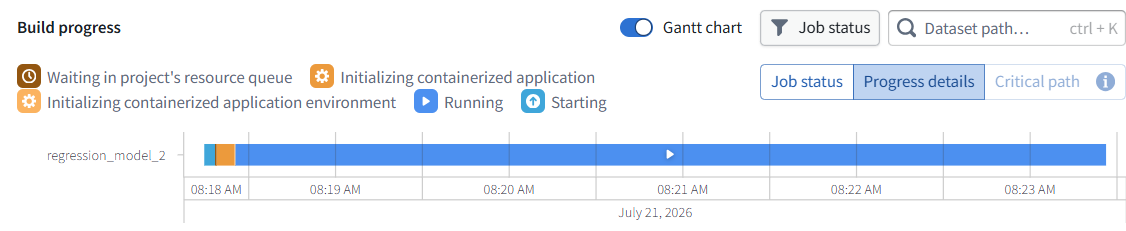
telemetry

4.4 View the model and submit it to a modeling objective
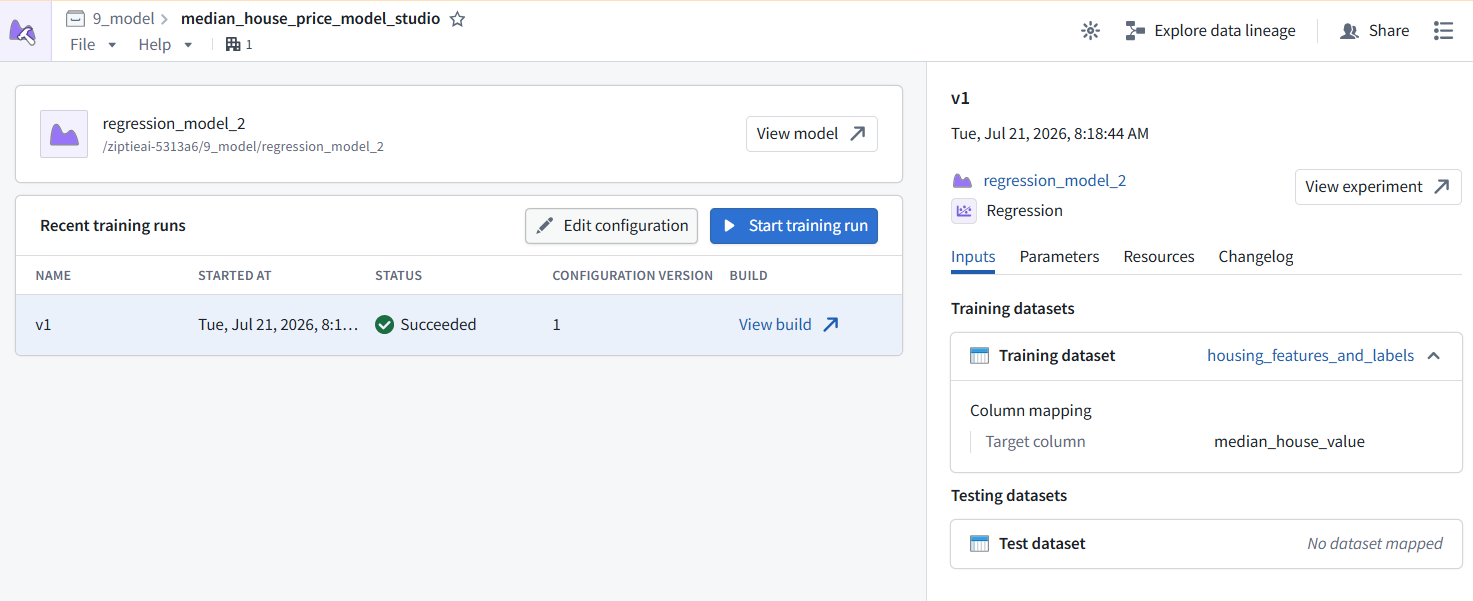
When the job is completed, there will be a green checkmark under the run’s Status column. From here, you can view the produced model.
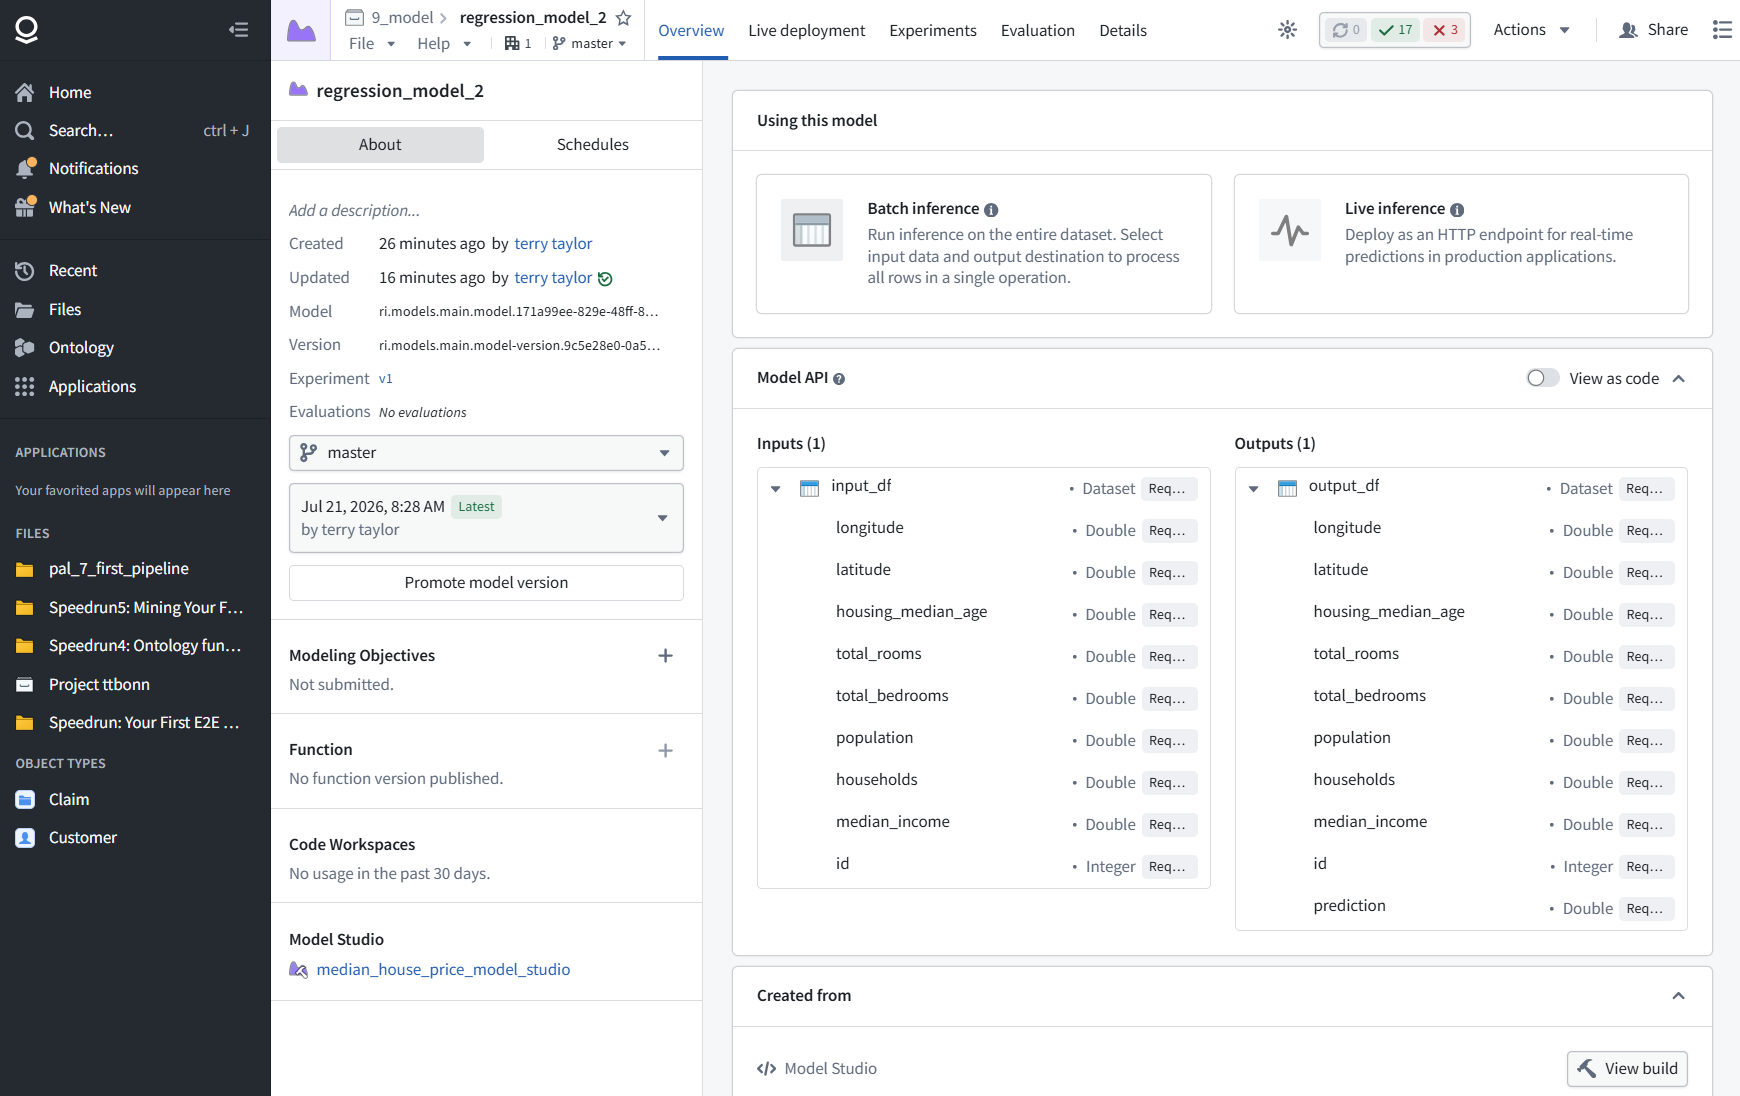
Action: Select the first row of the Recent training runs table, then select Actions > View model version in the sidebar to view the produced model. Once you are viewing the model, select Submit to a Modeling Objective to submit that model to the modeling objective you created in step one of this tutorial. You will be asked to provide a submission name and submission owner. This metadata is used to track the model uniquely inside the modeling objective. Name the model regression_model and mark yourself as the submission owner.
https://ziptieai.usw-17.palantirfoundry.com/workspace/model-studio/ri.models.main.model-studio.438e67e5-668d-49d7-a9fd-8fdb0031a0db?run=ri.foundry.main.build.e143bfc9-8b07-415d-801b-86b59e8357f4
4.5 Next steps
Now that you have trained a model in Foundry, you can move onto model management, testing, and model evaluation. Here are some examples of additional steps you can take in Modeling Objectives:
Automatic model evaluation
Configure checks for model submissions
Live and batch inference configuration from a modeling objective
No-code batch inference in Pipeline Builder
Deploy models with DevOps and Marketplace
Learn more about Model Studio.
26.0903 (v1 26.0903)