3 Create own project with datasets
← 2 Install marketplace app and test / ↑ 3.2 Foundry QS0 / → 4 Build pipeline
Converted 2026-11-19 01:53 PM EST
The next step is now to create everythings ourselves except the datasources.
Create new project, import the data sources , hten build the rest?
That is a cleaner approach than deleting the installed example.
Keep QS0b as the reference installation and build your version in a new project.
TOC
- 3.2 Datasets (1) save locally then (2) import
- 3.3 Next: create the independent build project
- 3.4 Import ELINT Example.csv
- 3.5 Import the second dataset
3.2 Datasets (1) save locally then (2) import
Downloading and reimporting gives the new project independent input datasets.
Your screenshots show approximately:
Those are Foundry’s displayed storage sizes; the downloaded files may differ. Both are small enough for a local download/upload exercise.
Proposed sequence
1. Download each original input dataset.
2. Create QS0_Build (project).
3. Upload/import both files as new datasets.
4. Verify column types, timestamps, geometry strings, and row counts.
5. Build the new pipeline from those imported datasets.
CSV is beginner-friendly, but we must verify the schema after importing: timestamps and geometry values may otherwise be interpreted as plain text or parsed incorrectly.
Start with ELINT Example (dataset) → All actions and show the menu. We’ll find the available download option and choose the format before proceeding.
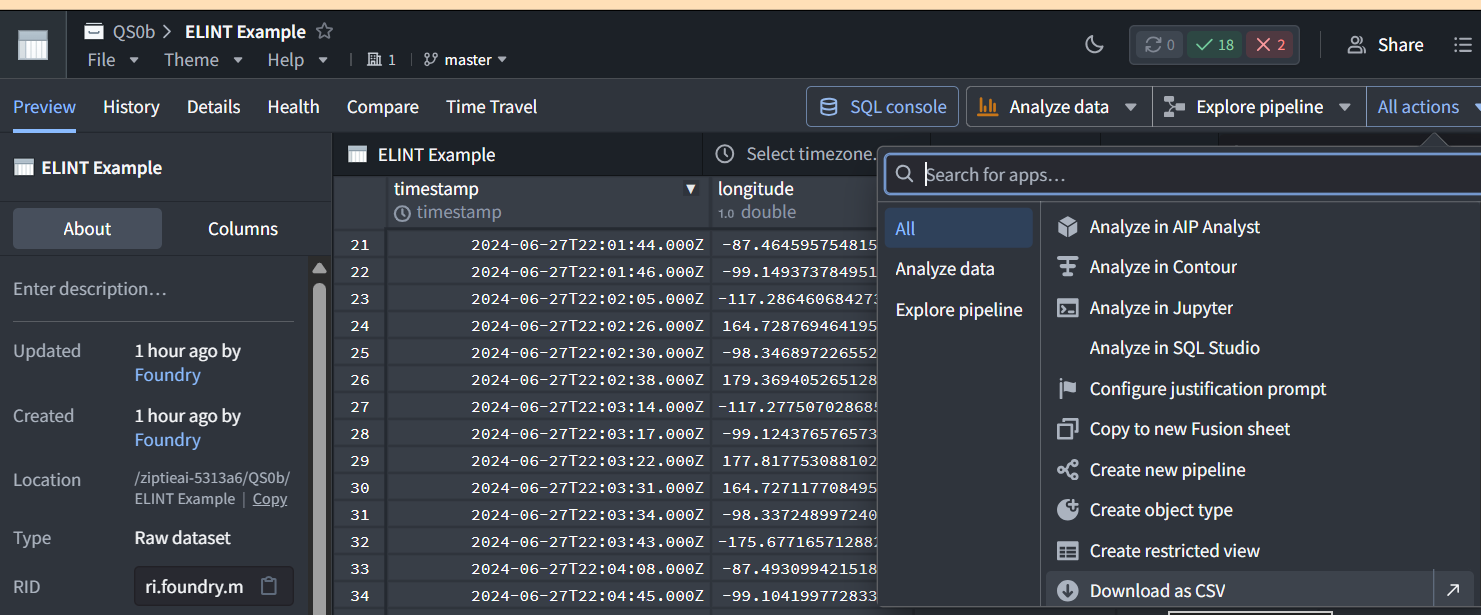
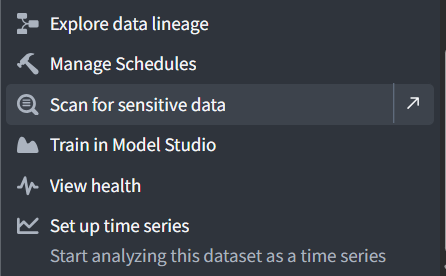
Download as CSV is visible in your first screenshot.
1. Click Download as CSV for ELINT Example (dataset).
2. Keep the downloaded file as:
ELINT Example.csv
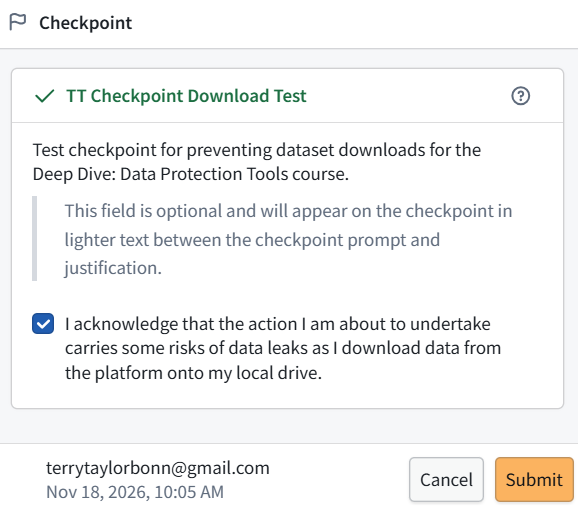
1. Repeat for CV ATR GEOINT Example (dataset):
CV ATR GEOINT Example.csv
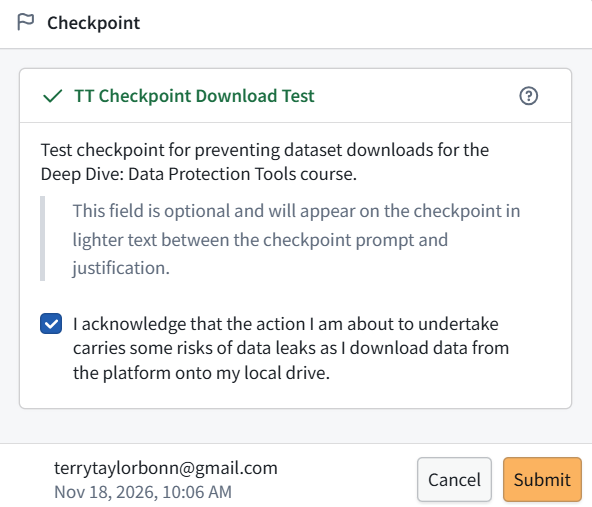

Don’t open and resave them in Excel—it can alter timestamps or other values. We’ll import the downloaded CSVs directly into Foundry.
If a download dialog offers a choice, select all rows, not just the preview sample.
Once both files are downloaded, we’ll create QS0_Build (project) and upload them.
Both CSVs downloaded successfully:
-
ELINT Example.csv: 4.93 MB
-
CV ATR GEOINT Example.csv: 15.1 MB
The CSV exports are larger than Foundry’s displayed storage sizes. That is normal; the formats and compression differ.
The first screenshot is a download-governance checkpoint, not a download error.
3.3 Next: create the independent build project
1. Open Projects & files.
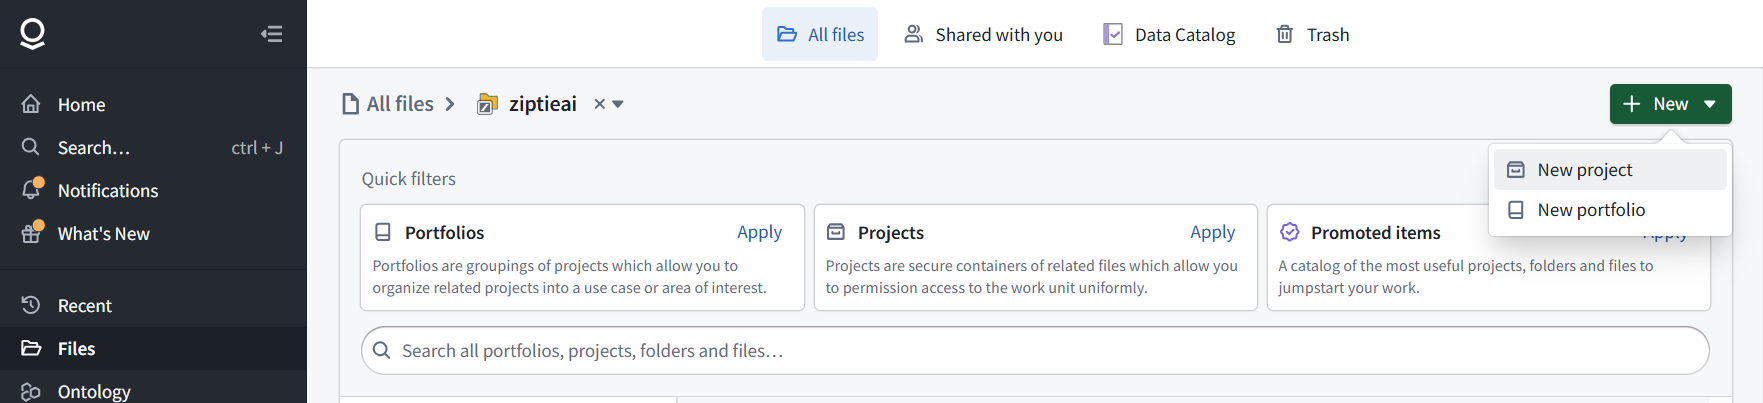
2. At the namespace level, select New → New project.
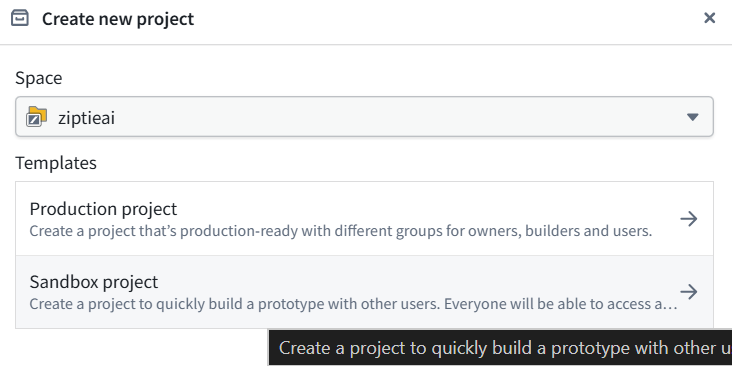
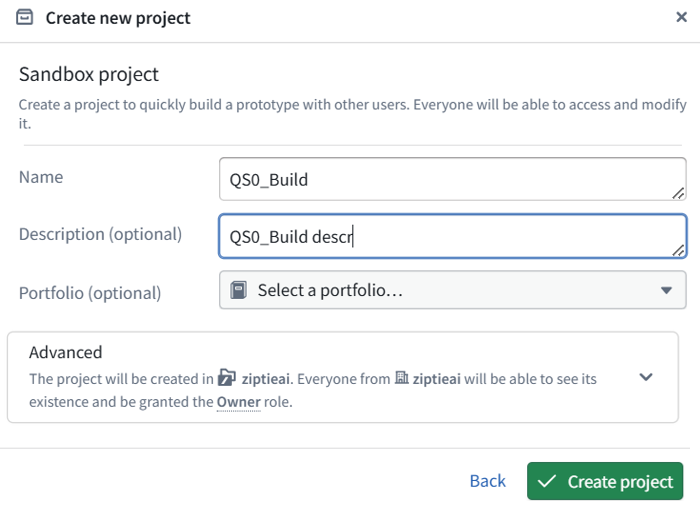
3. Name it:
QS0_Build
Use the same project/security setup as QS0b.
4. Show the new project’s file page. We’ll upload the CSVs one at a time and verify their schemas.
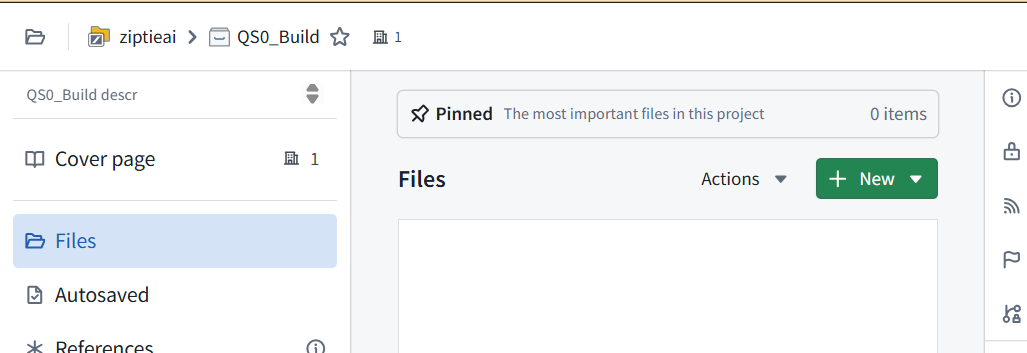
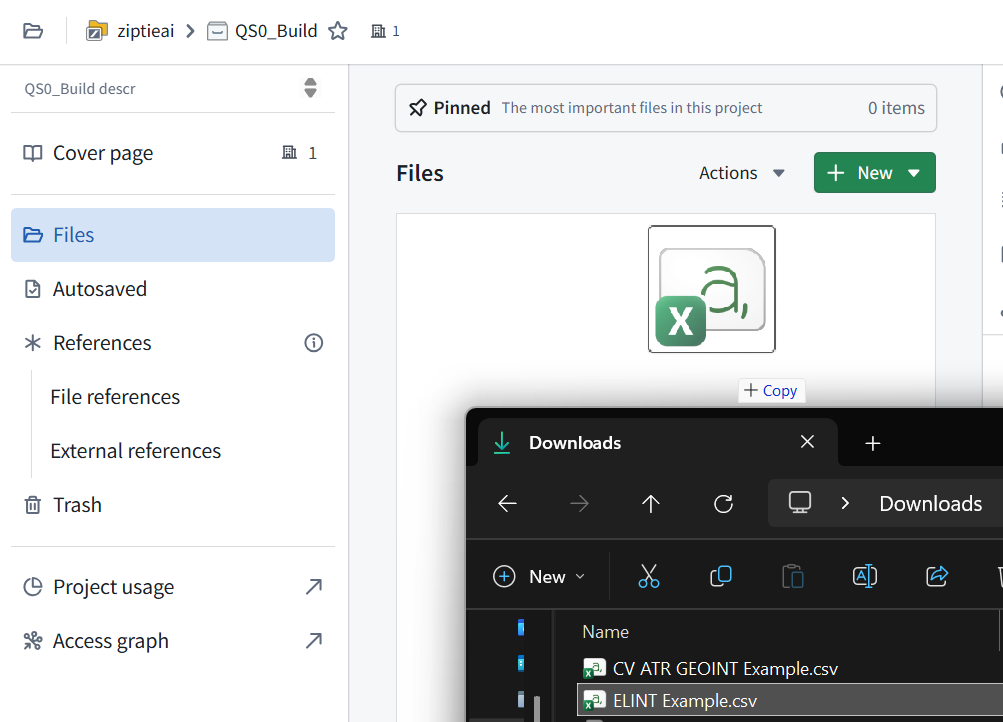
QS0_Build (project) is created and empty.
3.4 Import ELINT Example.csv
Drag ELINT Example.csv from your Downloads folder into the project’s empty Files area.
Show the upload/import dialog that opens. We’ll check the dataset name, CSV parsing, and column types before completing the import.
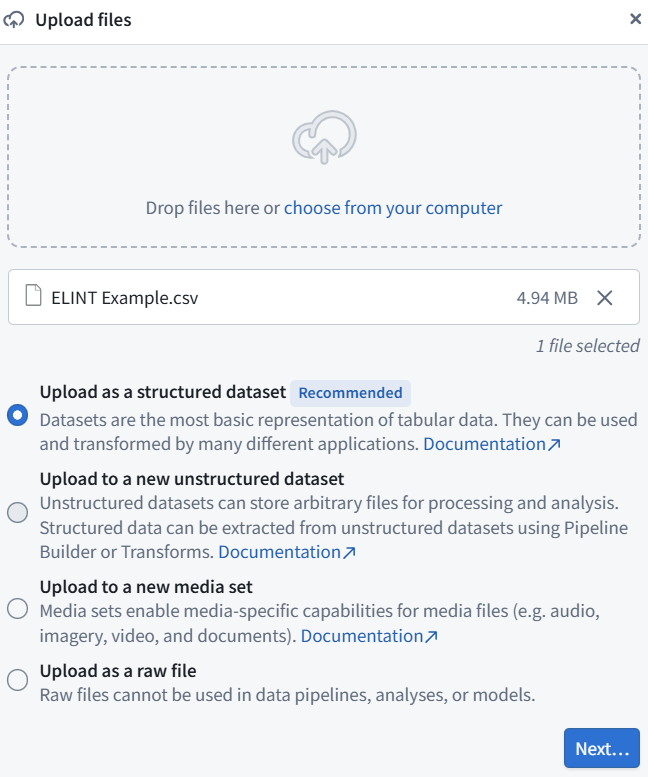
Keep Upload as a structured dataset selected, then click Next….
This makes the CSV available as rows and columns for Pipeline Builder. Show the next screen so we can check its parsing and schema.
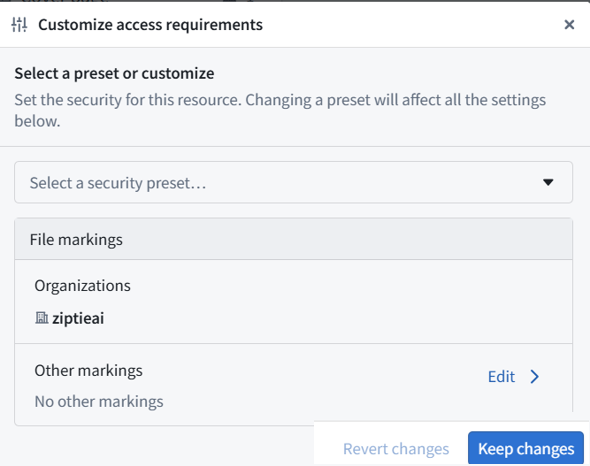
This is the access-requirements screen, before parsing.
It shows:
-
Organization: ziptieai
-
Other markings: none
If these match the original dataset’s access requirements, leave them unchanged and click Keep changes.
Show the next screen. We should preserve any source markings rather than remove them during reimport.
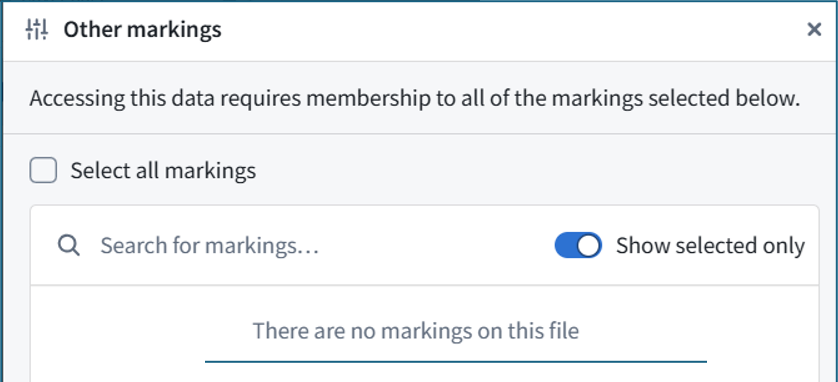
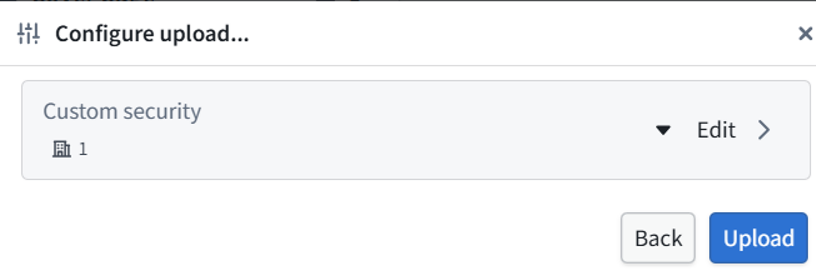
You’re back at Configure upload. The upload has one organization marking, and the other-markings editor showed none selected.
Click Upload at the bottom right. After it completes, open the new ELINT Example (dataset) in QS0_Build (project) and show its Preview/schema screen. We still need to verify CSV parsing and column types.
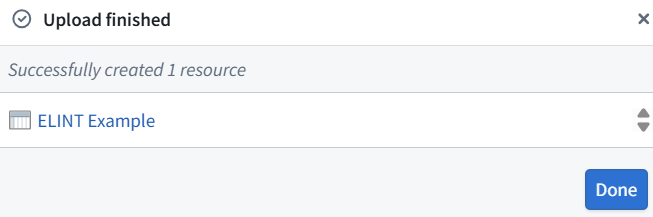
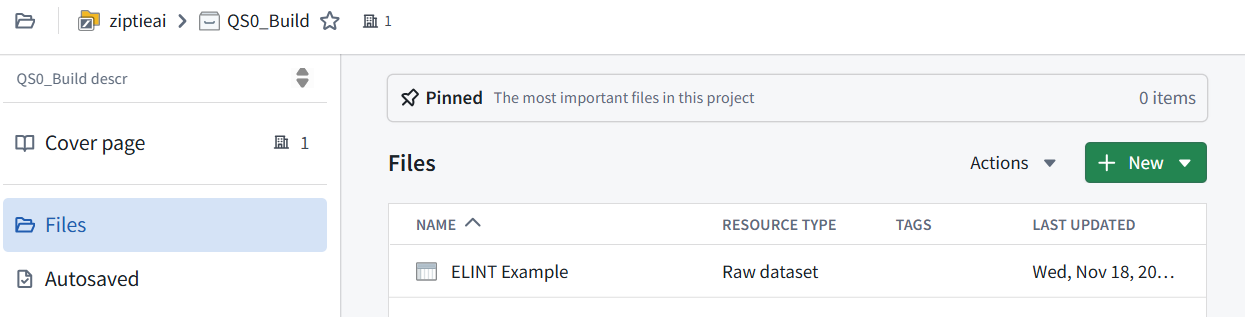
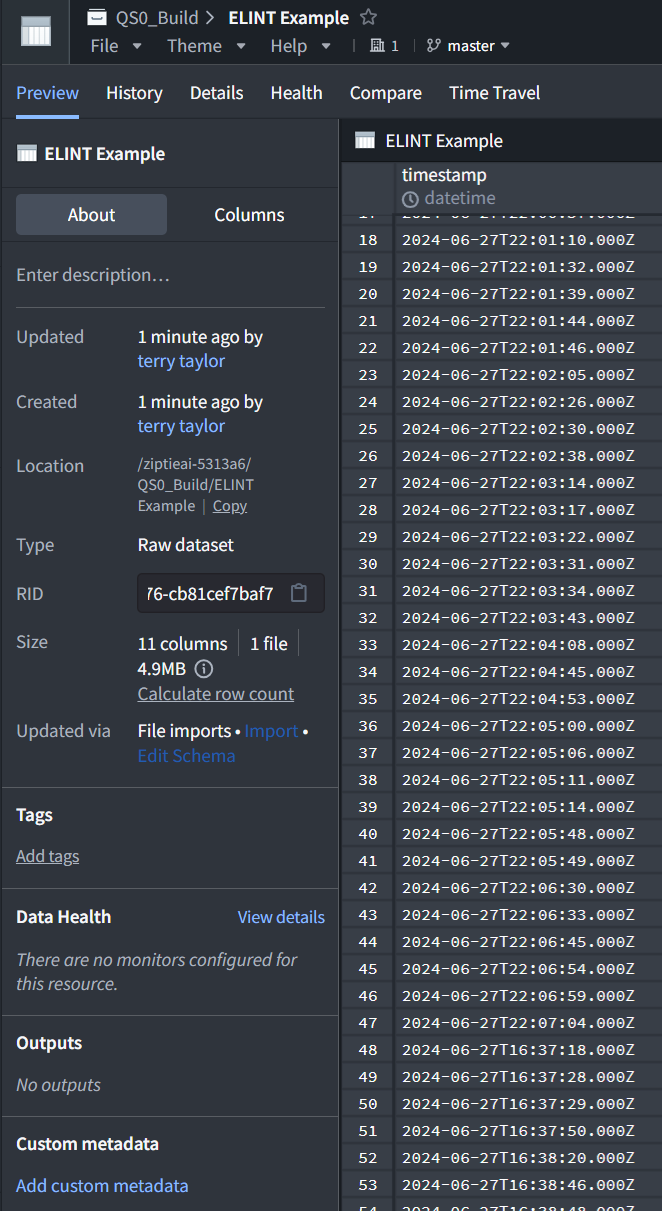

ELINT Example imported successfully. The preview shows:
-
3,206 total rows—only 300 are displayed in the preview.
-
11 columns.
-
timestamp: recognized as datetime.
-
longitude, latitude, semi_major_axis, semi_minor_axis, orientation: Double.
-
track_id, elnot, geometry, h3_index_2, elint_geometry: String.
The geometry JSON remains inside its String columns; it has not split into extra CSV columns. No schema changes are needed here.
3.5 Import the second dataset
Return to QS0_Build (project) and drag in:
CV ATR GEOINT Example.csv
Choose Upload as a structured dataset and follow the same upload process. Keep the required access markings.
Then open its Preview and show the column headers and total row count. We’ll verify its 10 columns, particularly detection_timestamp, confidence_score, and the geometry fields.

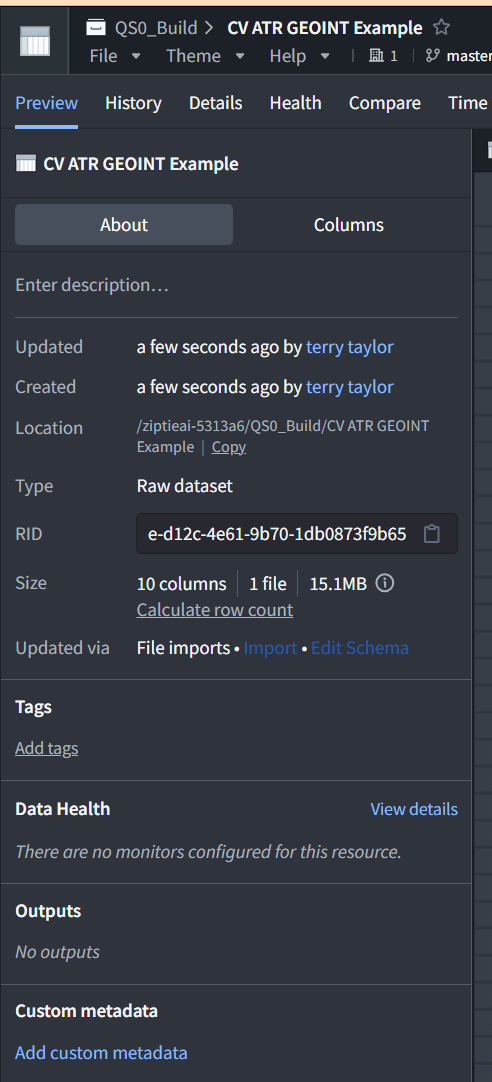

CV ATR GEOINT Example imported successfully:
-
24,019 total rows, with 300 displayed in the preview.
-
10 columns.
-
confidence_score: Double.
-
detection_timestamp: datetime.
-
Geometry and H3 fields remain Strings.
-
source_sensor_type: null in the displayed rows, as in the supplied data.
Data preparation is complete
QS0_Build (project) now has two independent inputs: