D1 Phase 1 -- Pipeline/ontology
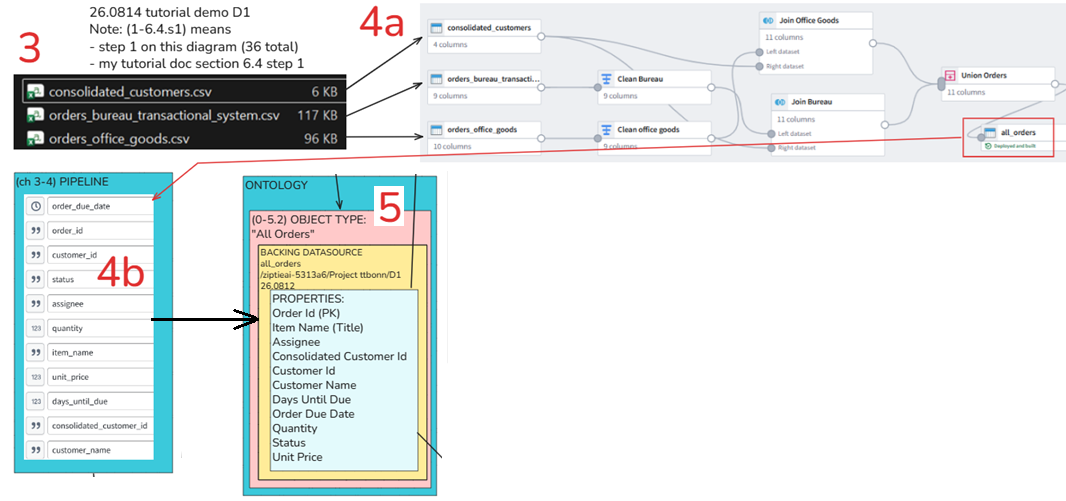
Phase 1 builds the foundation for the rest of demo D1. We start with three raw CSV files, use Pipeline Builder to clean and combine the data into a single dataset, and then use that dataset to create an Ontology object type.
By the end of this phase, the basic data → pipeline → dataset → ontology workflow is working and can be tested before moving on to the UI in Phase 2.
TOC:
- 2 Open FDE and create project/folder
- 3 Download 3 source data files (csv) to your PC and upload to Foundry
- 4 Create pipeline
- 5 Create ontology
- Phase 1 final test: View/compare dataset/ontology
NOTE:
- I use the same chapter numbers in this doc that I added to my version of the original Foundry speedrun (quick start) (see #610bbb_pal_D1foundry_PAL.docx on the Gdrive). The original speedrun H1/H2 headings were not numbered.
- I dont number each step in this phase. This phase is relatively easy to follow and verify.
2 Open FDE and create project/folder
(ch2 not shown in the master diagram above)
TOC:
- 2.1 Your top-level Foundry namespace / organization workspace
- 2.2 Open FDE
- 2.3 Create a project (dir for storing created files)
- 2.4 Open Pipeline Builder in new tab
- 2.5 Create folder
- 2.6 Summary
2.1 Your top-level Foundry namespace / organization workspace
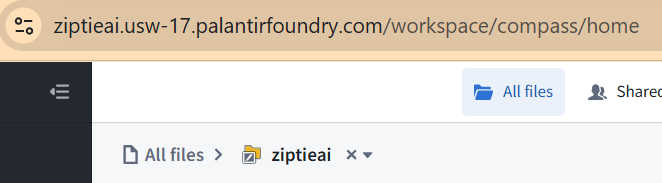
I think “ziptieai” was created when I signed up.
2.2 Open FDE
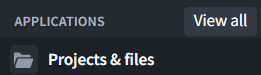
In left panel click View all.
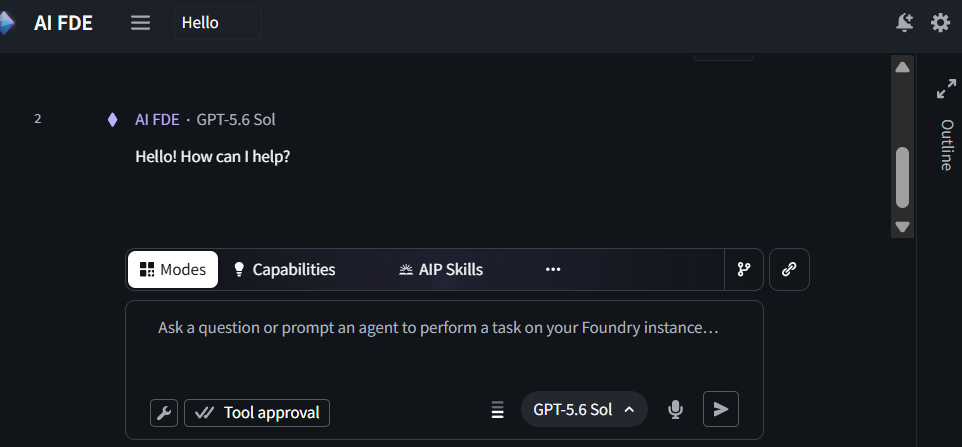
Open AI FDE.
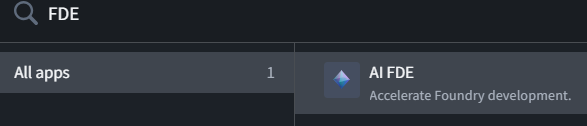
FDE is a vital tool. You can paste screenshots (just copy the screenshot, then place cursor in prompt field and paste). FDE can “see” them. Without FDE I could not have done 5% of what I have accomplished in Foundry.
2.3 Create a project (dir for storing created files)
Click New in upper right of xxxx.palantirfoundry.com/workspace/compass/home.
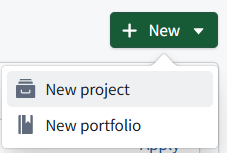
Click New portfolio.
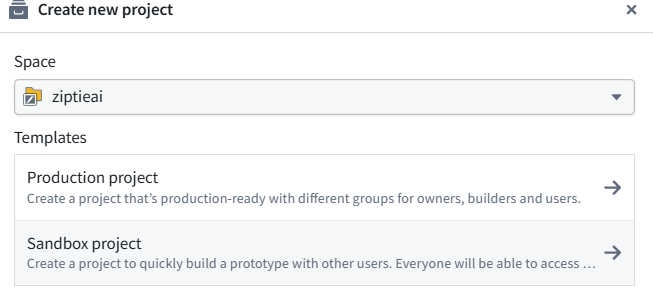
Click Sandbox project.
Enter project name
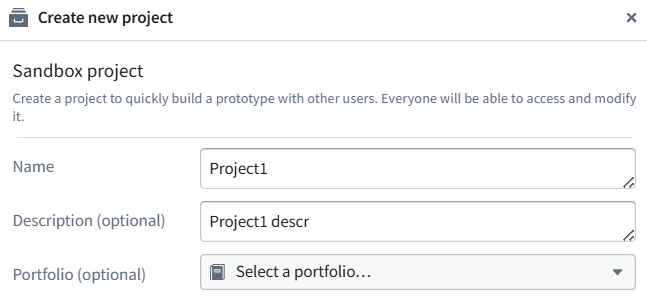
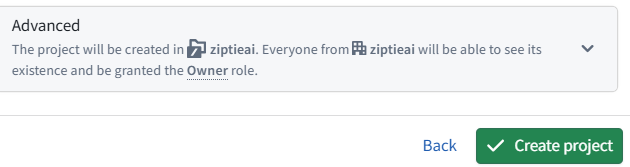
Click Create project.
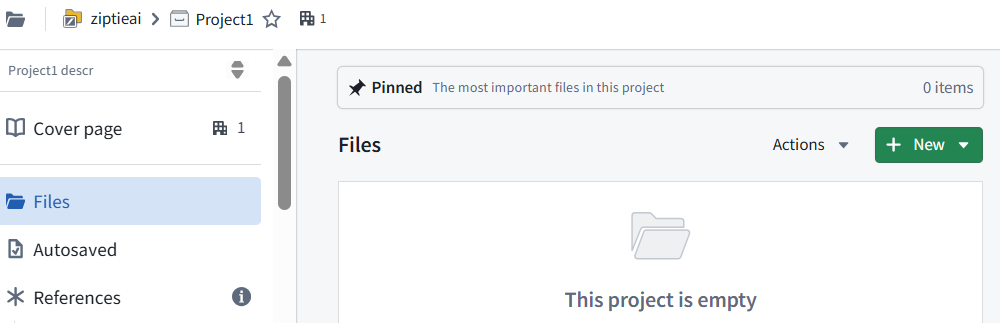
Click New and then type in pipe.
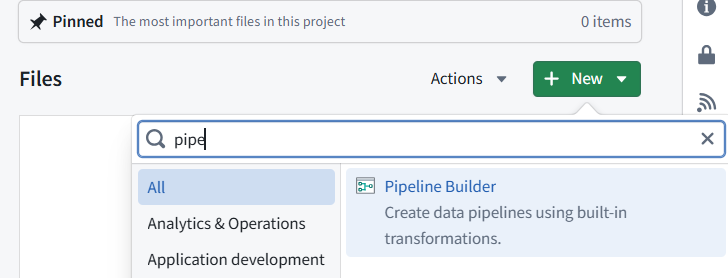
Click on Pipeline Builder.
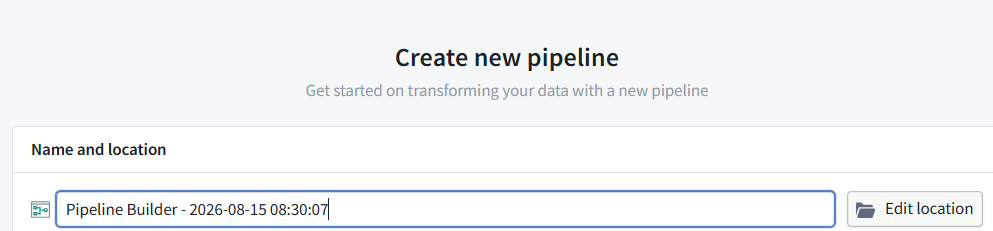
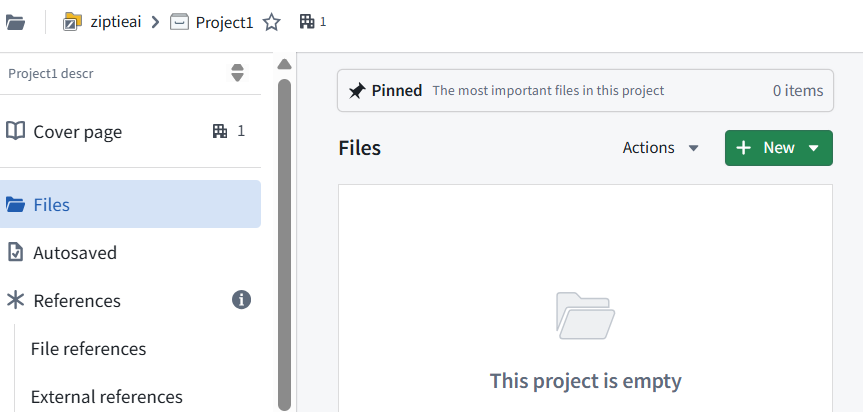
Click on Files in left panel.
That pipeline you just opened is not there because you did not save it. If you have filled out the required info and saved, it would be listed here.
2.4 Open Pipeline Builder in new tab
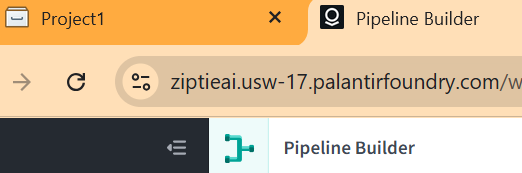
In left panel click View all and search for pipe.
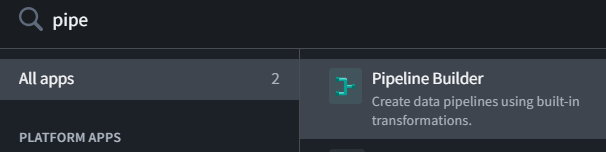
Press and hold Ctrl key and mouse click on Pipeline Builder. A new tab with Pipeline Builder appears.
2.5 Create folder
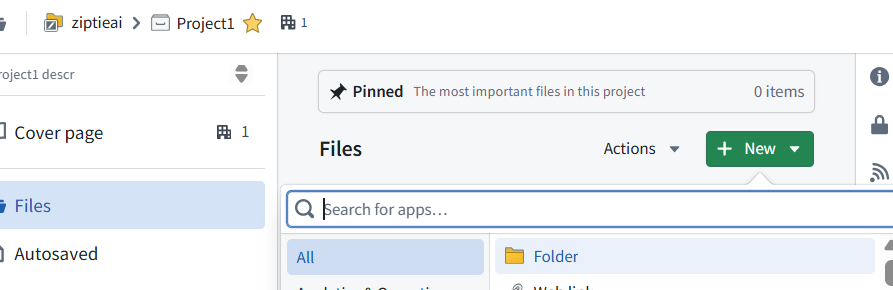
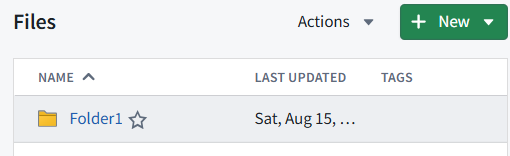
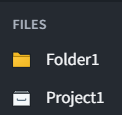
PS: Click on the star for Project1 and Folder1.

They are now shown in the left pane.
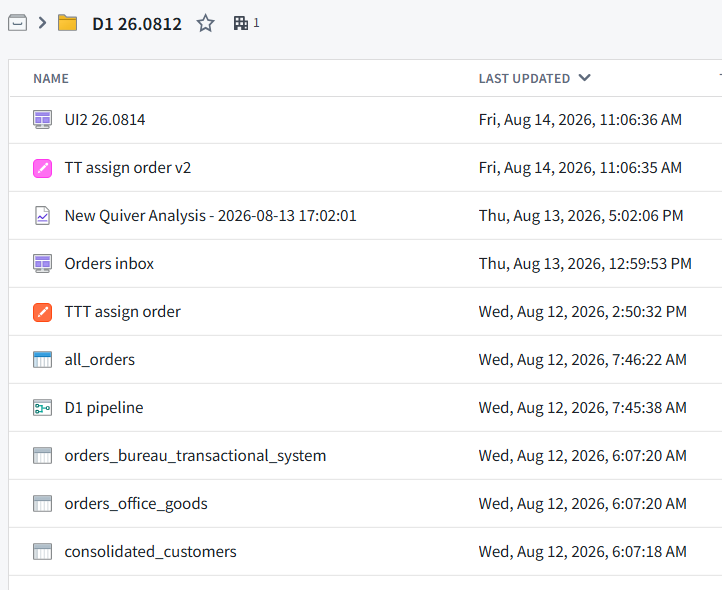
NOTE: The eventual content of your folder will look something like this.
2.6 Summary
You now have the folder to store all files in. And you know a bit about how to navigate and open tools.
3 Download 3 source data files (csv) to your PC and upload to Foundry
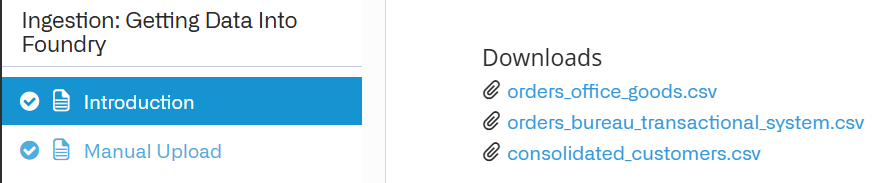
Click on https://learn.palantir.com/speedrun-your-first-e2e-workflow. Download the 3 csv files.
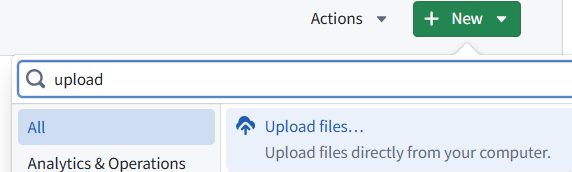
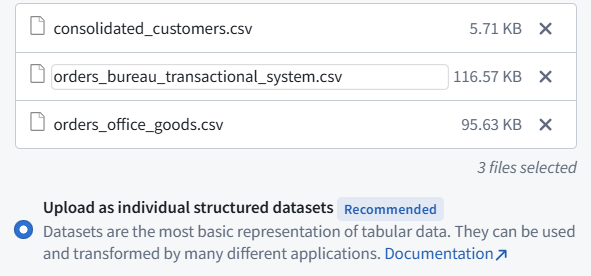
Upload the files to your demo dir (from now on I will show my project and folder names).
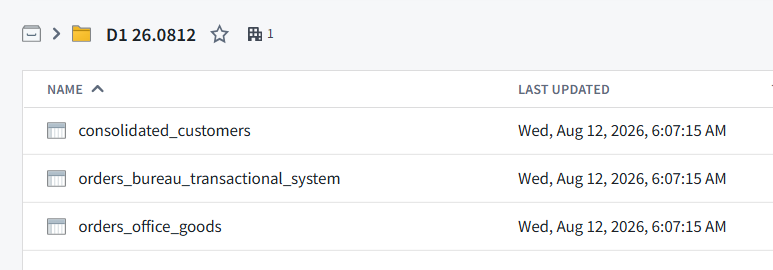
4 Create pipeline
TOC:
- 4.1 What you will do in this chapter
- 4.2 Create a new Pipeline and add data
- 4.3 Create transform “Clean Bureau”
- 4.4 Create transform “Clean Office Goods”
- 4.5 Create join “Join Office Goods”
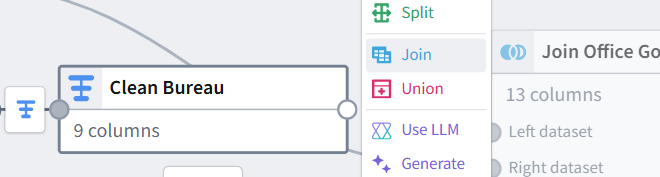
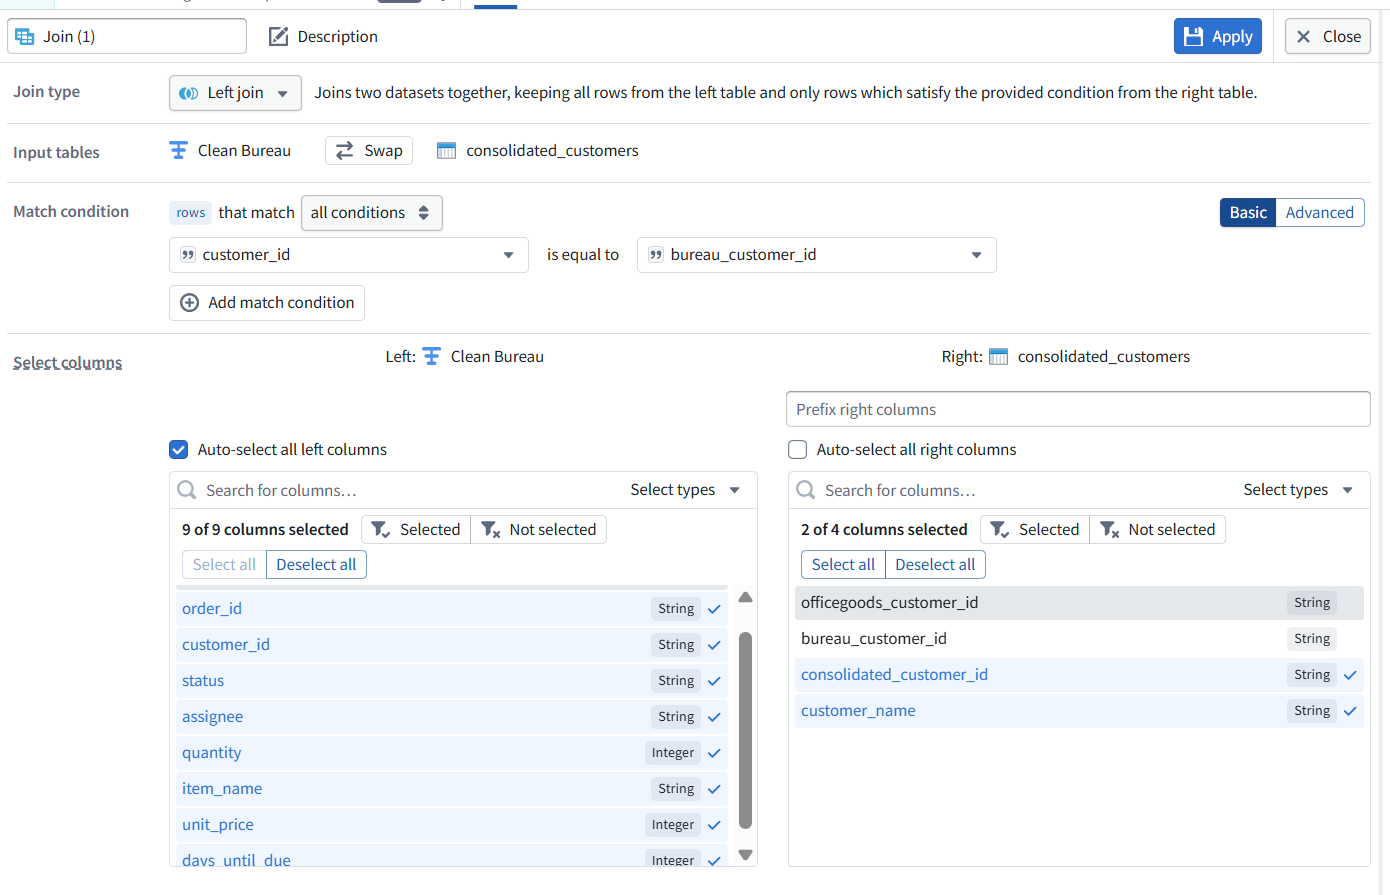
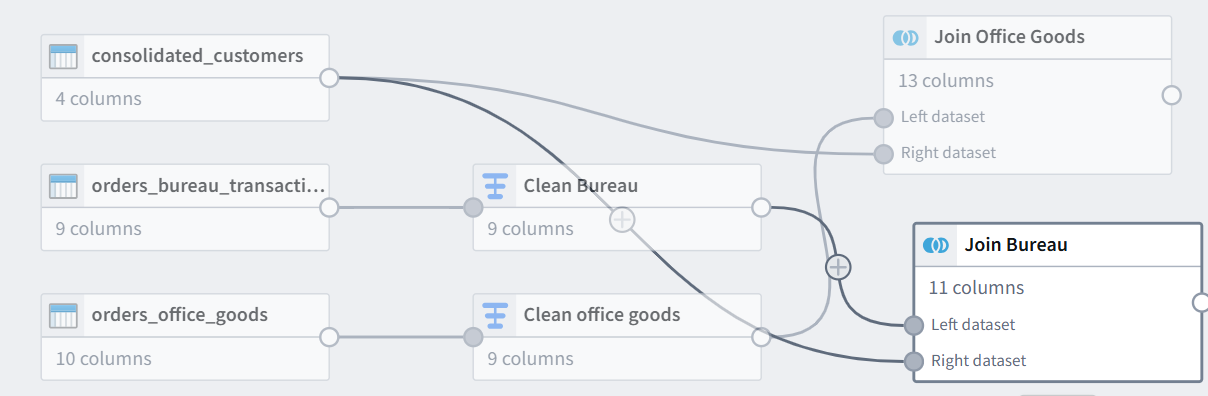
- 4.6 Create join “Join Bureau”
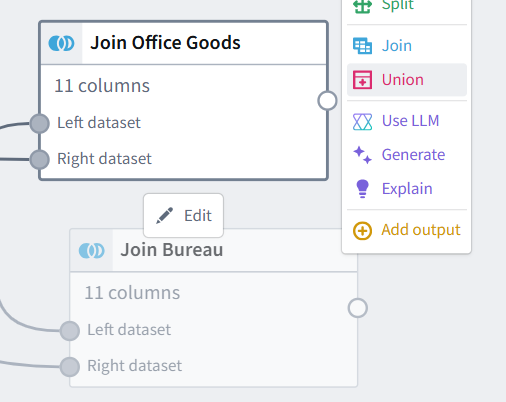
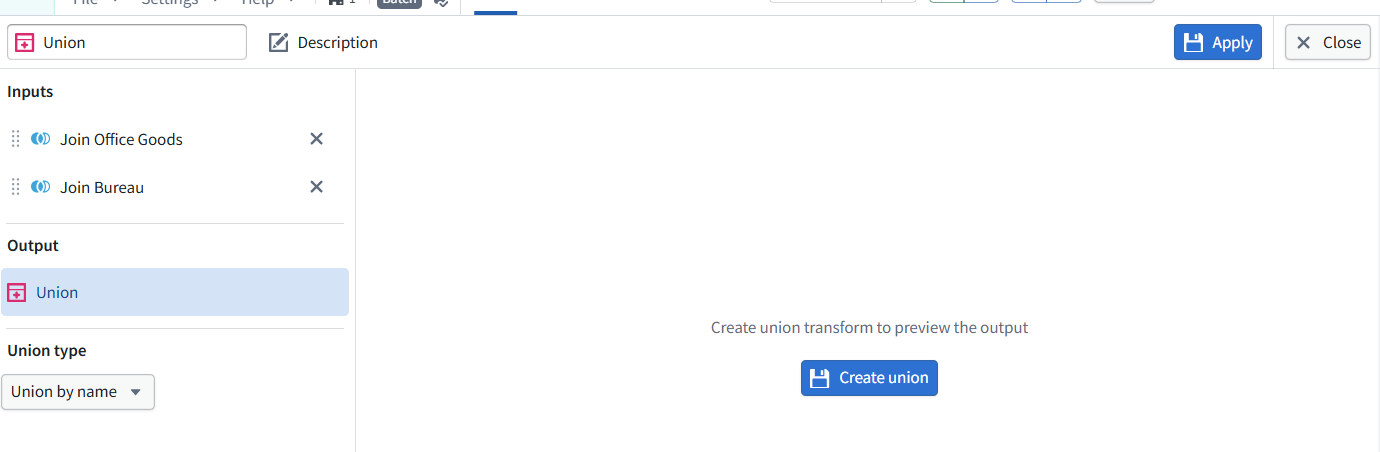
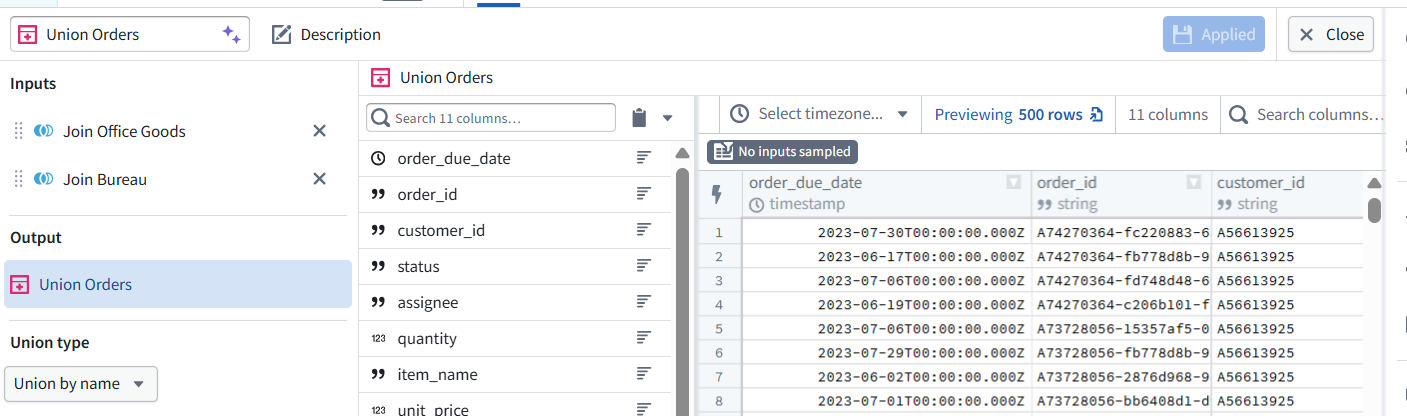
- 4.7 Create union “Union Orders”
- 4.8 Add output dataset “all_orders”
- 4.9 Finalize and Run Pipeline
- 4.10 Summary
4.1 What you will do in this chapter
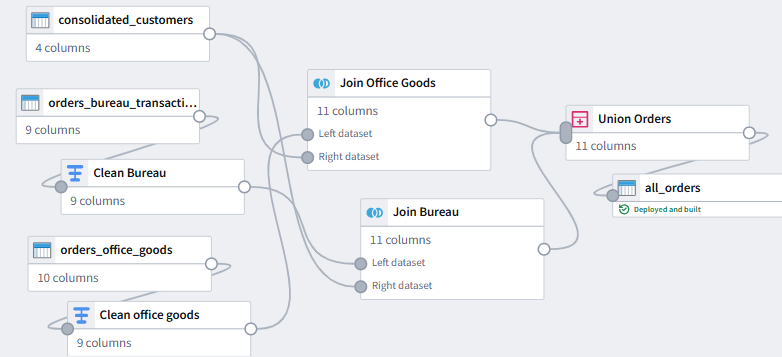
You will create the following pipeline:
- Add the 3 csv files.
- Clean up content.
- Combine all 3 into a single table (2 joins and 1 union).
- Output to dataset (all_orders).
NOTE: “all_orders” is not the ideal name for the dataset. That’s true for many demo file names you will see in this demo. I might redo this demo in the future with better naming.
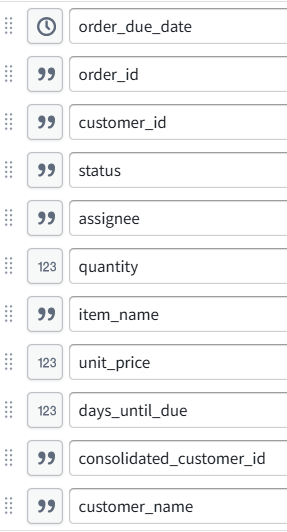
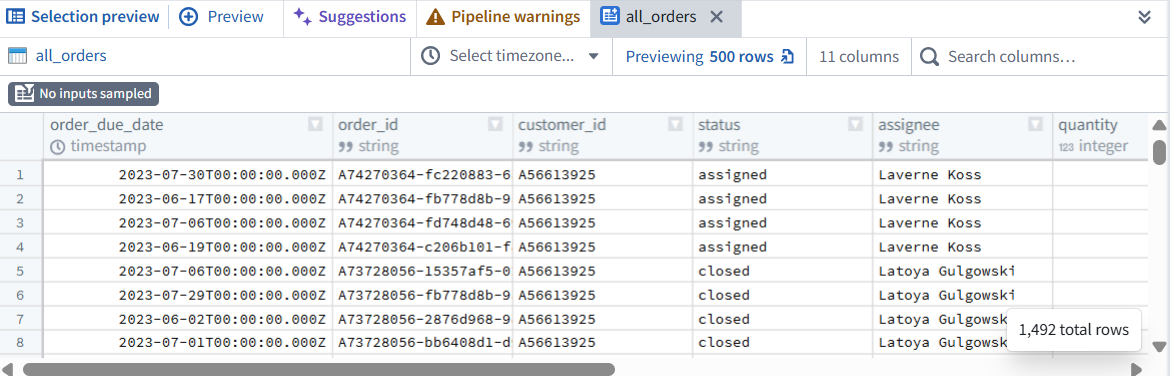
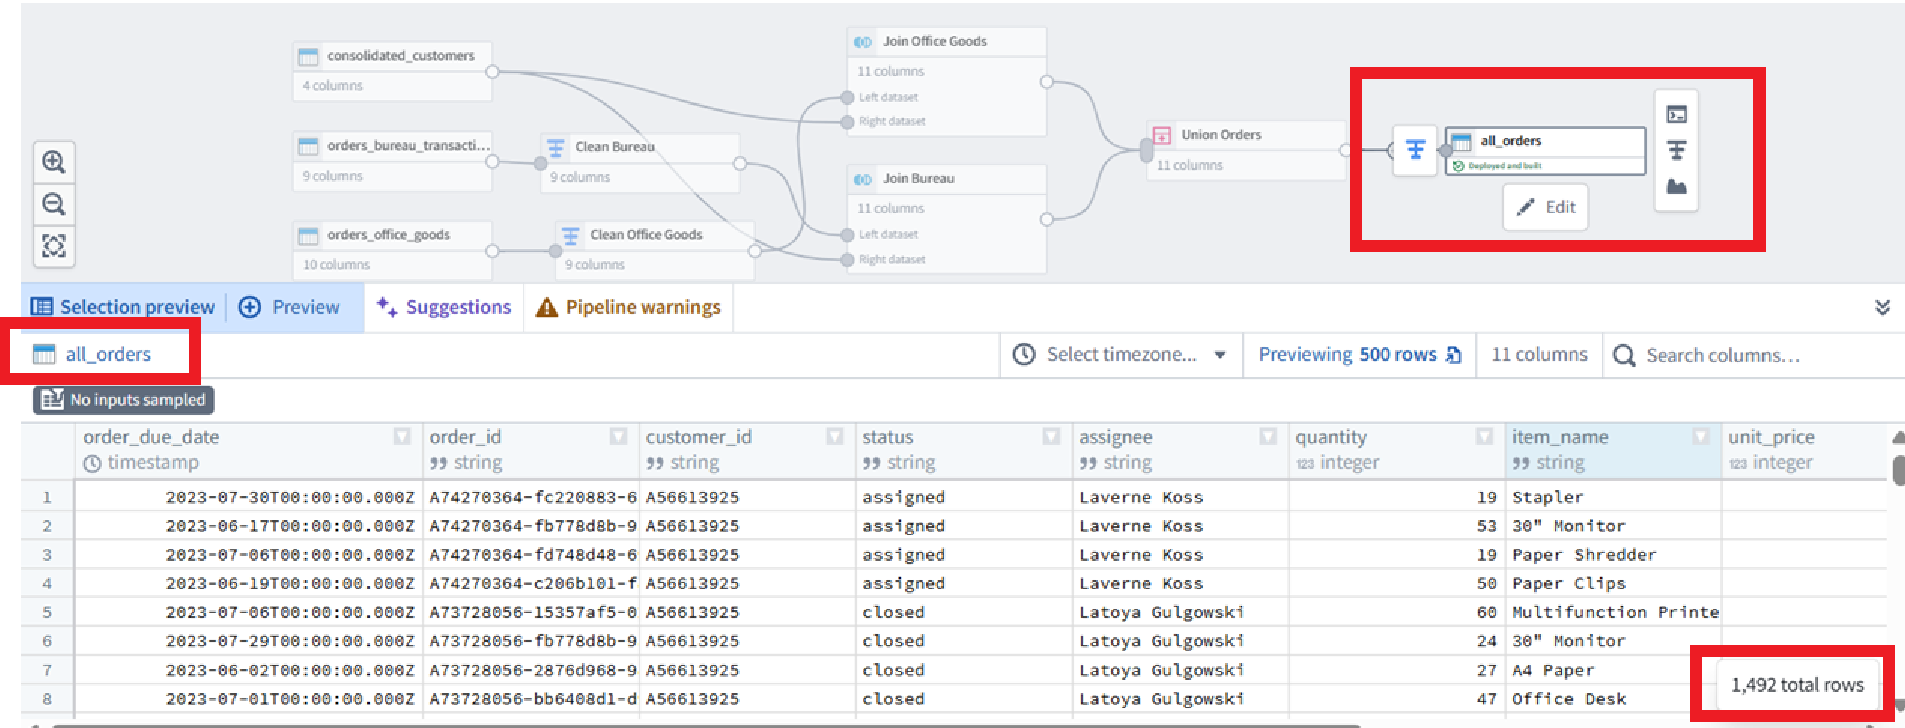
The following shows the content of all_orders.
4.2 Create a new Pipeline and add data

CTRL + ENTER. Enter your location (“D1 pipeline” is what I used).

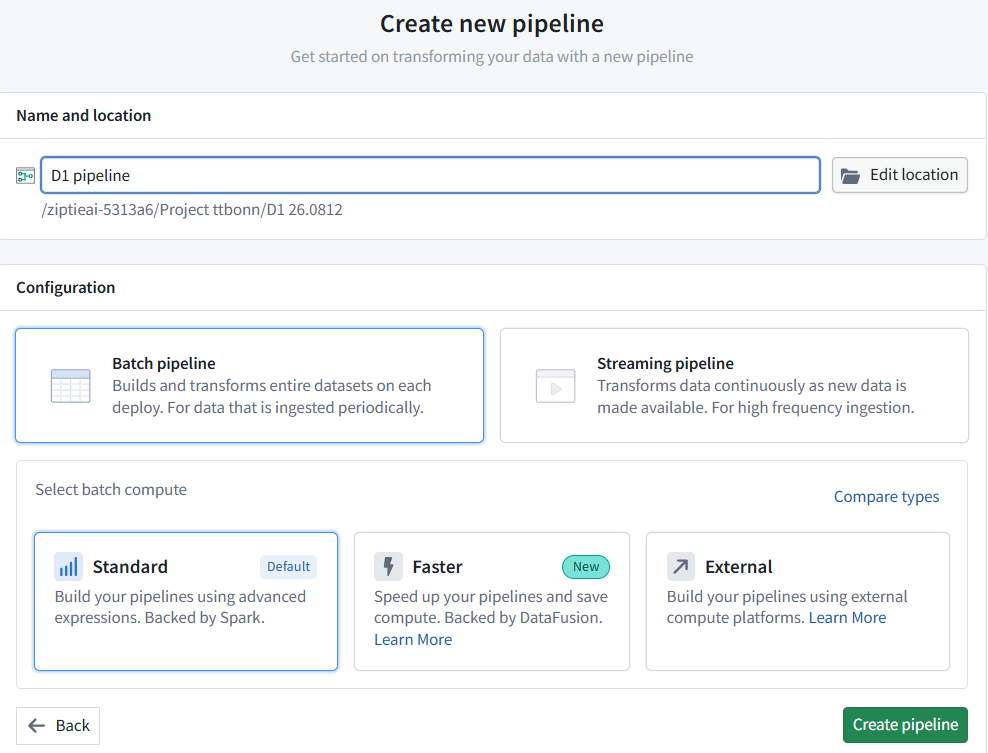
Click Create pipeline.
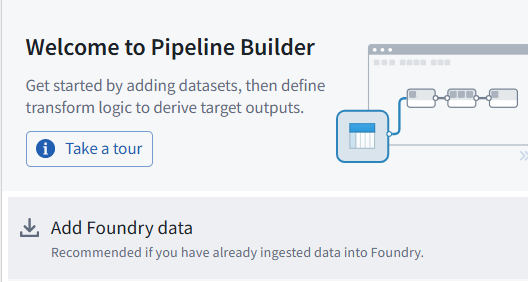
Click Add Foundry data.
Select all 3 csv files.
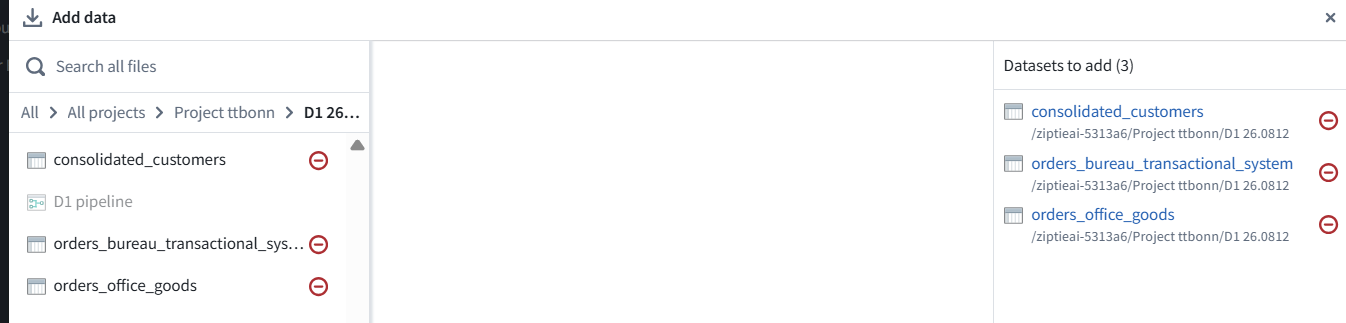
3 new data/input dataset nodes are created.
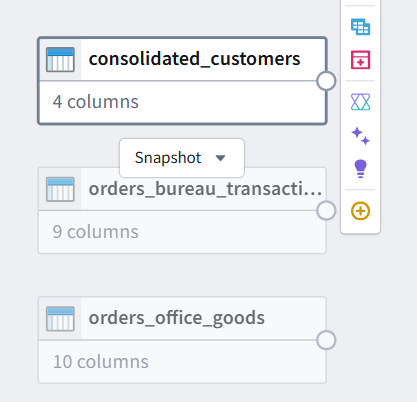
4.3 Create transform “Clean Bureau”
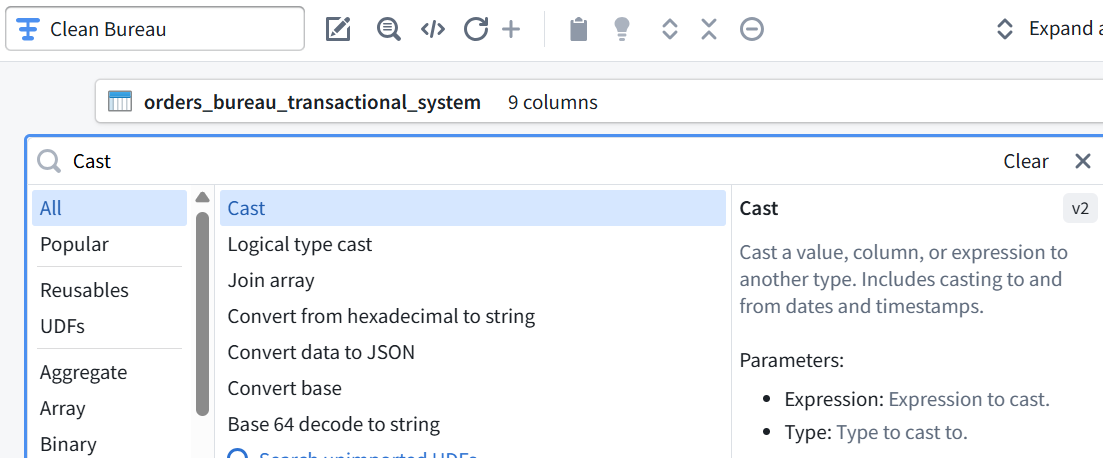
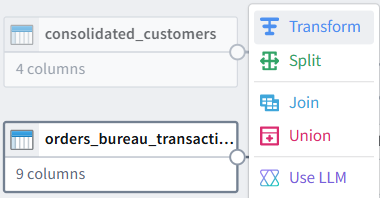
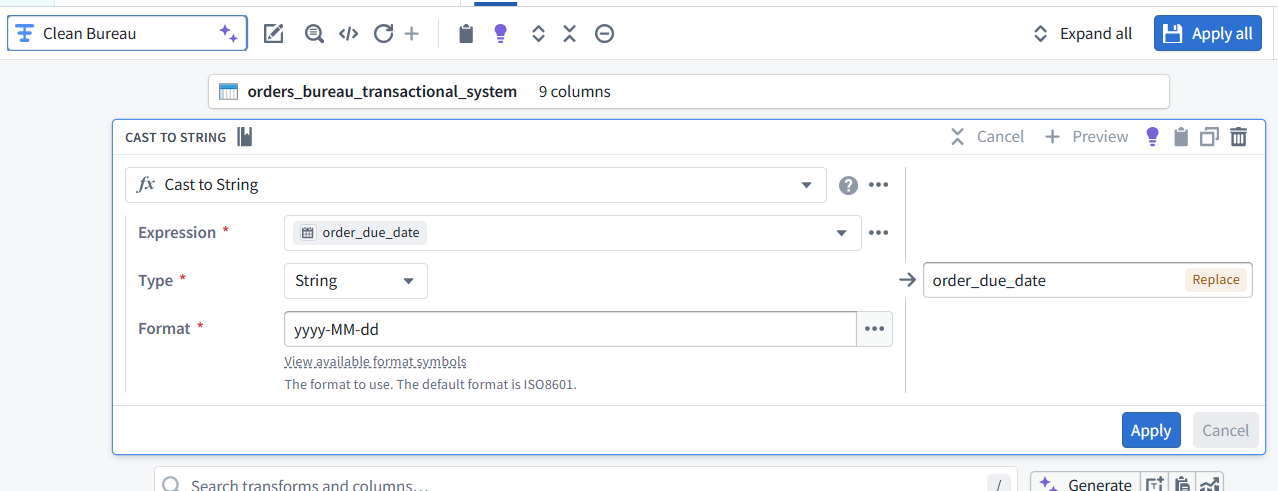
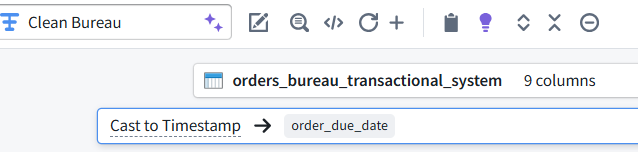
NOTE: For now, I just show the screenshots for my setup. For the detailed instructions see https://learn.palantir.com/speedrun-your-first-e2e-workflow . The pipeline setup is rather straightforward, but I might redo this in th future with a more detailed explanation.
4.3.1 Cast to timestamp
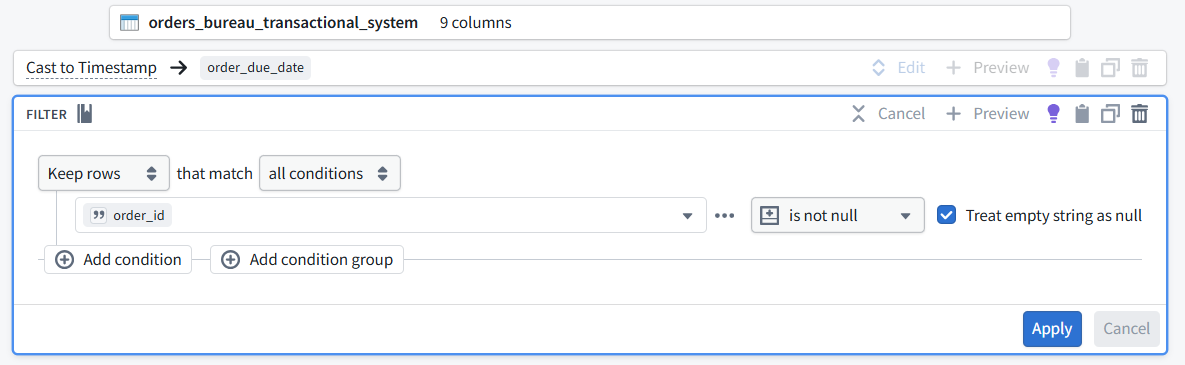
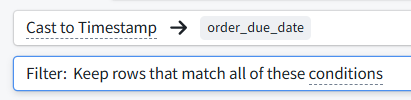
4.3.2 Filter rows
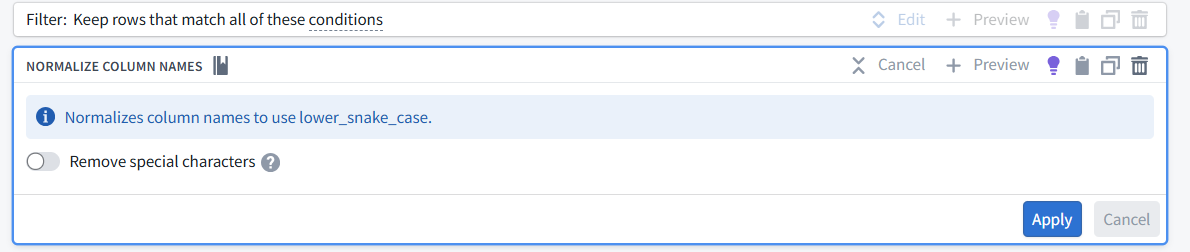
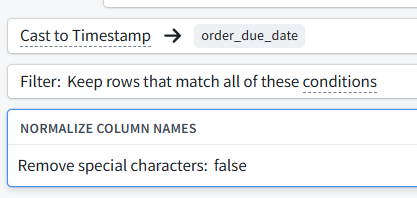
4.3.3 Normalize column names
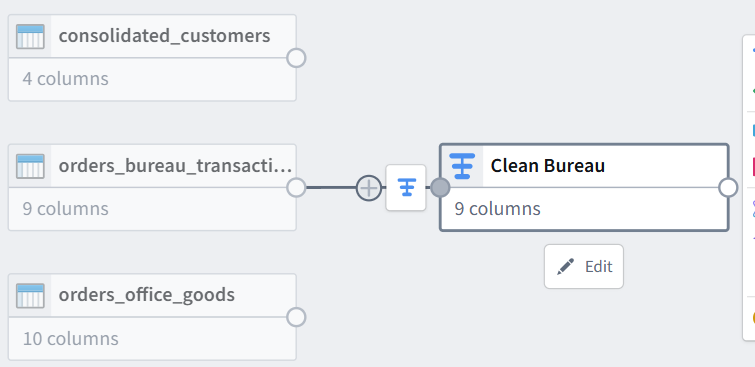
4.4 Create transform “Clean Office Goods”
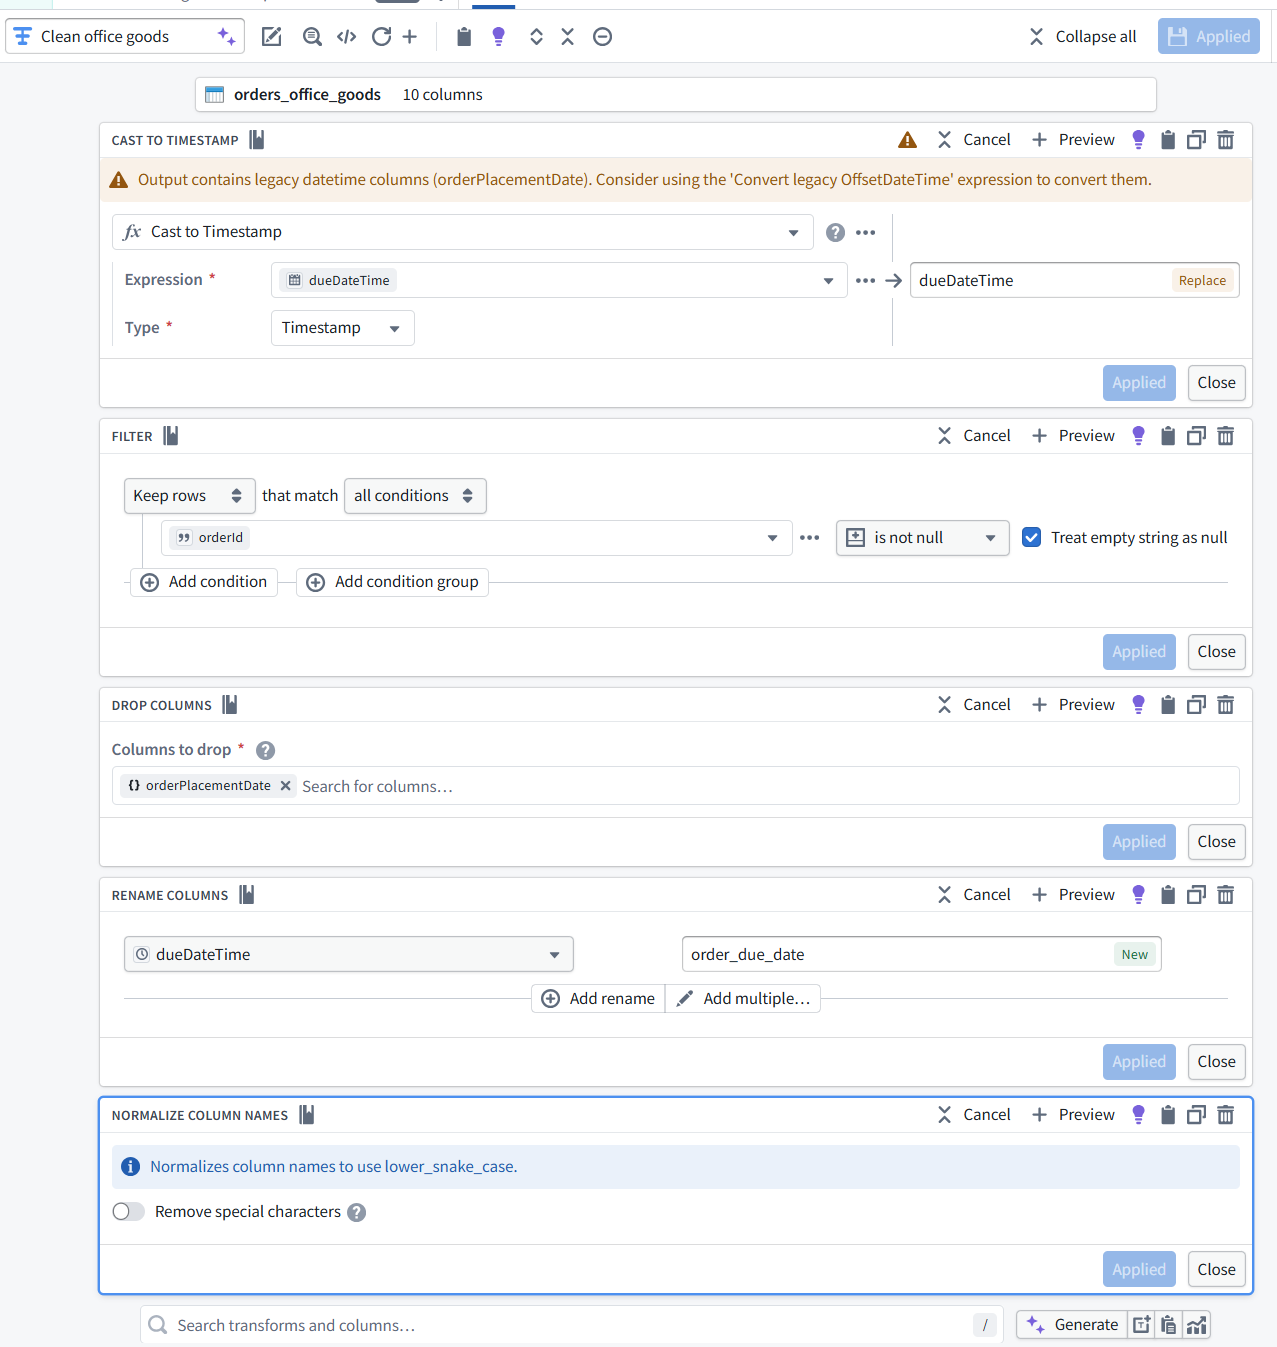
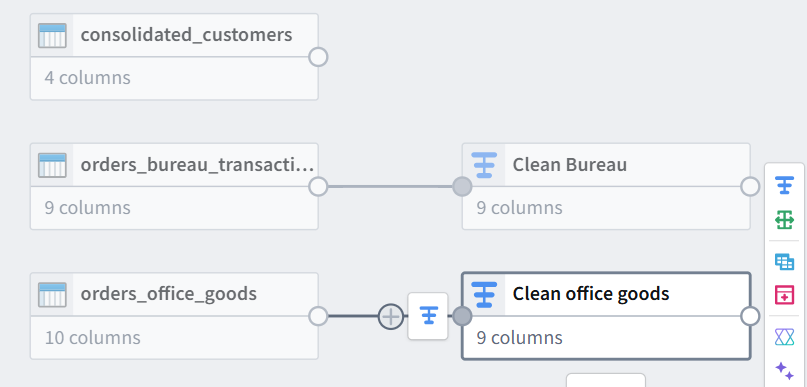
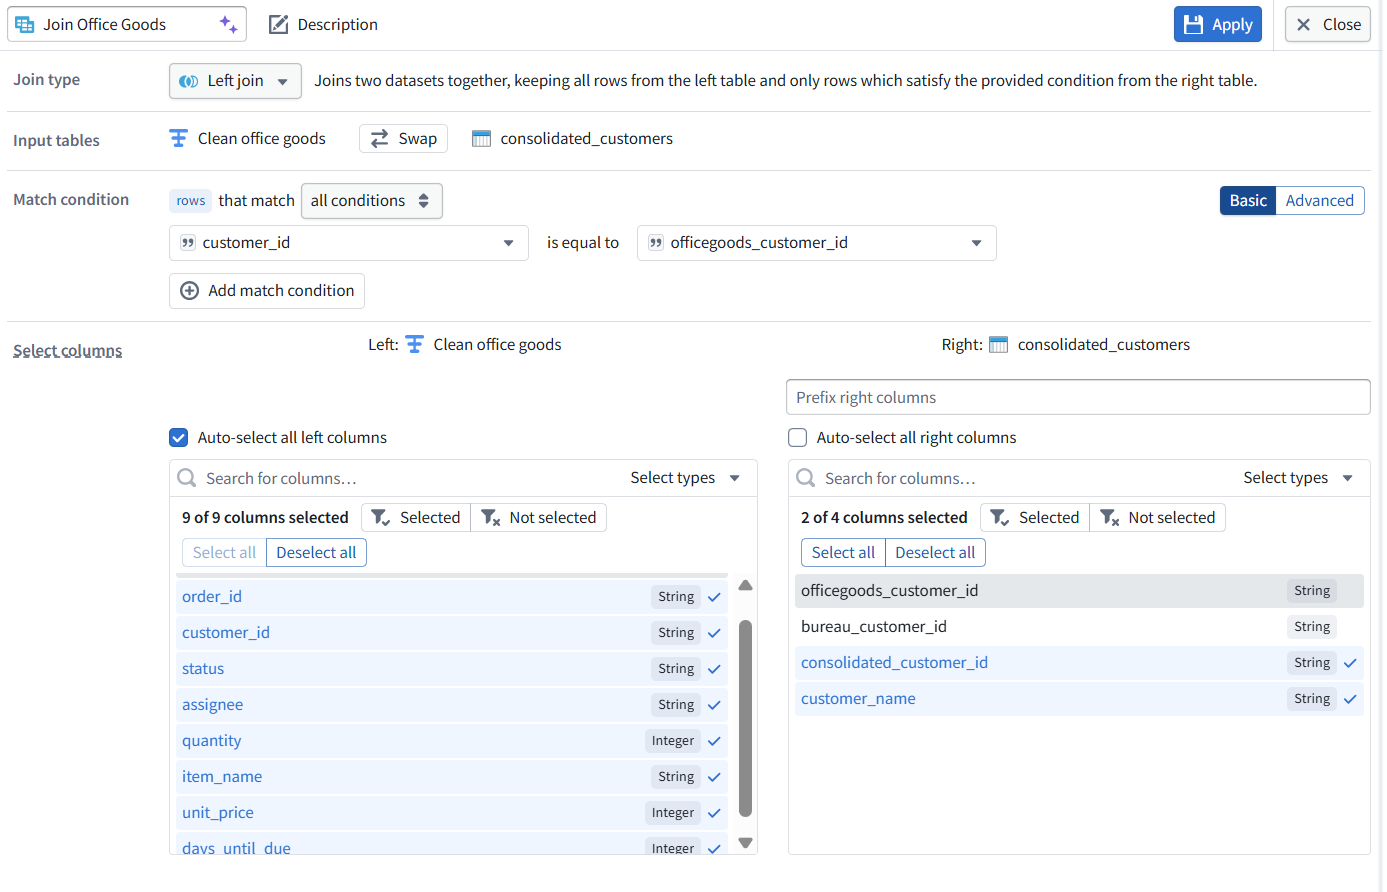
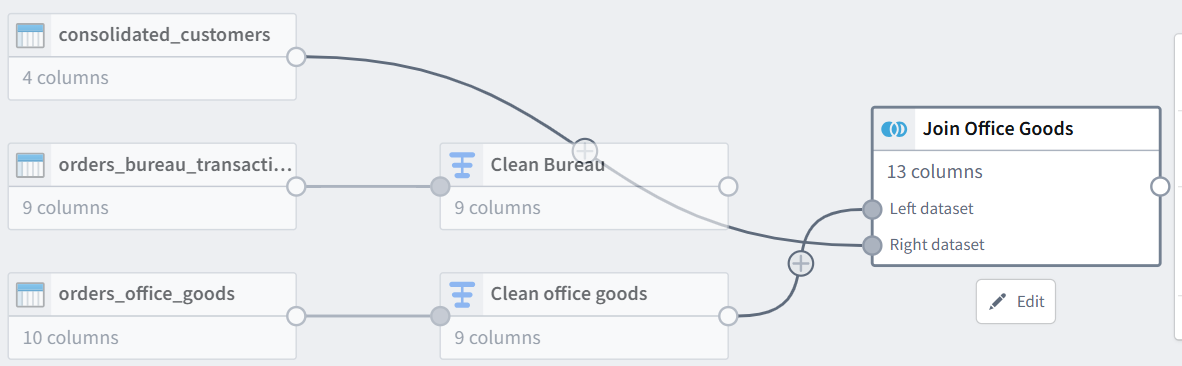
4.5 Create join “Join Office Goods”
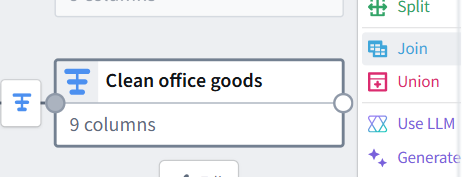



4.6 Create join “Join Bureau”


4.7 Create union “Union Orders”
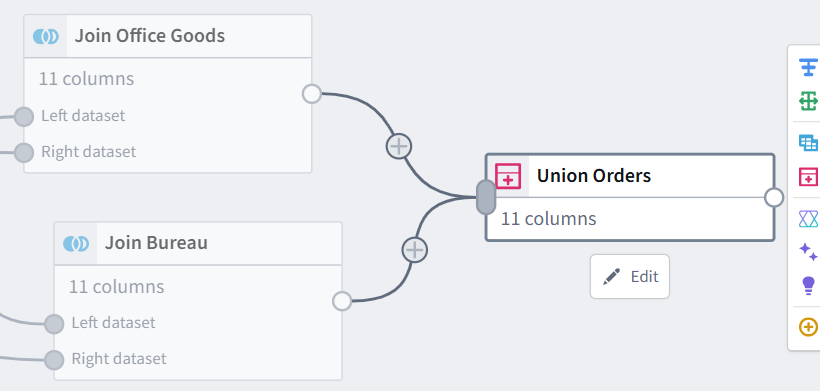
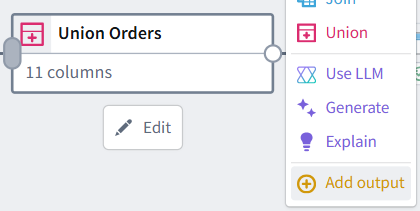
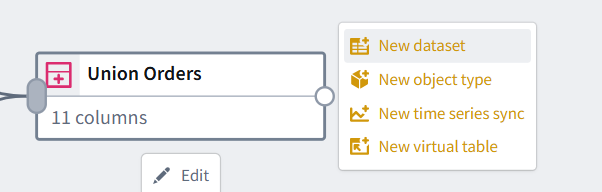
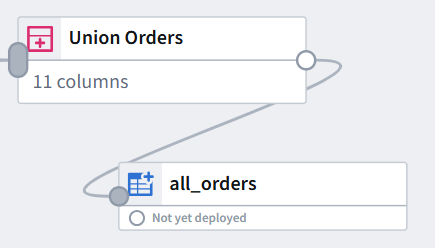
4.8 Add output dataset “all_orders”
4.9 Finalize and Run Pipeline
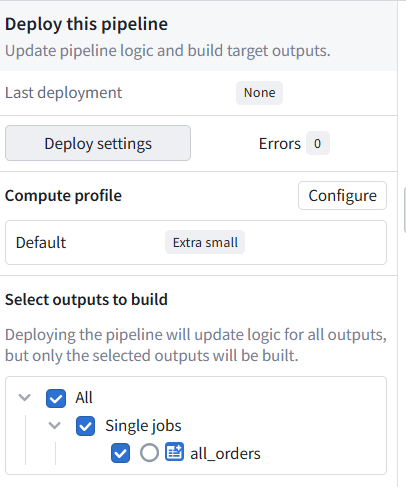


View the pipeline result (click on Preview).
4.10 Summary
You now have the pipeline that converts the csv files into a cleaned structured dataset that can form as the source (the “backing datasource”) of the Ontology
5 Create ontology
TOC:
- 5.1 What is an “ontology”
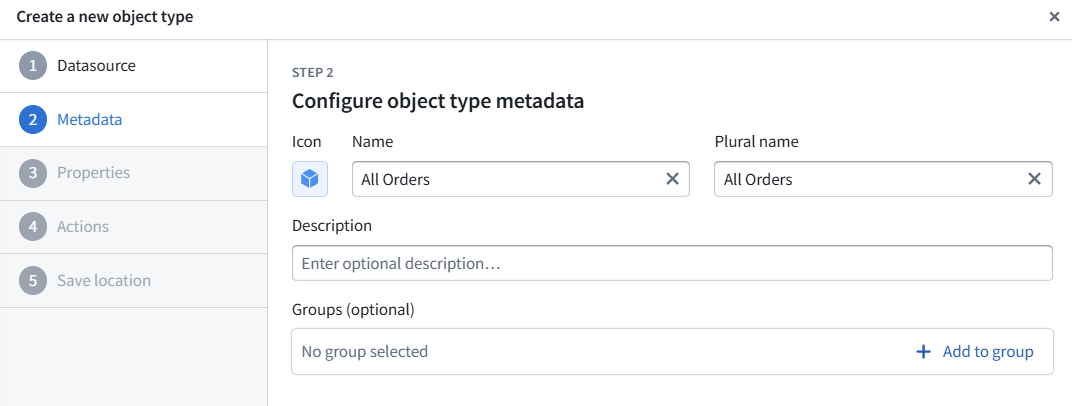
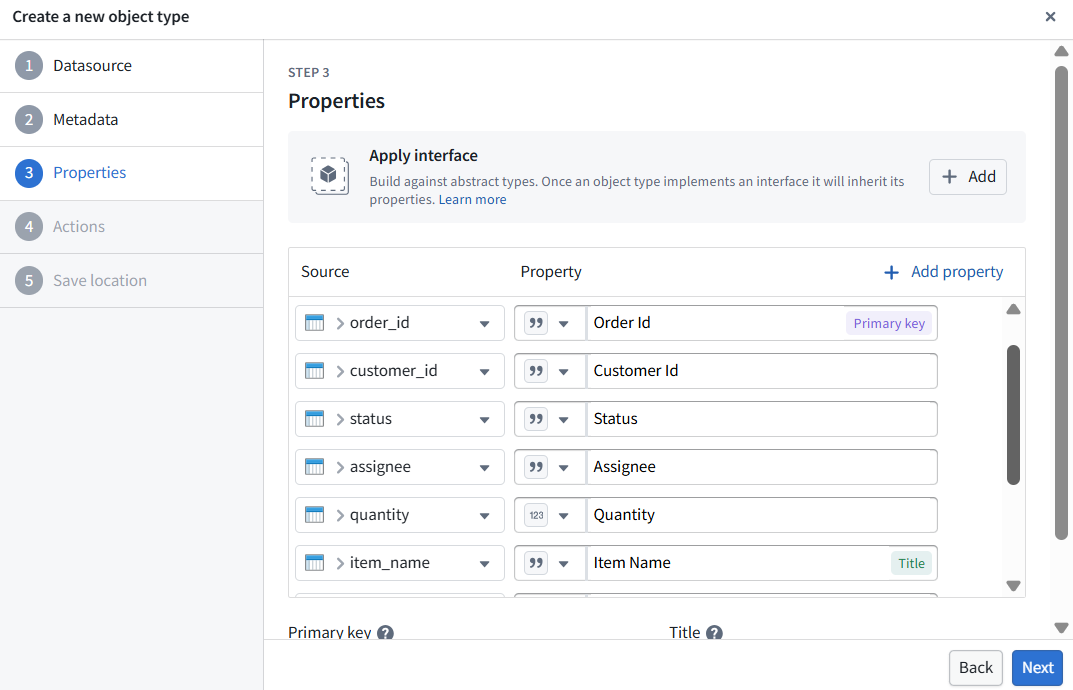
- 5.2 Create the object type for all_orders
- 5.3 Summary
5.1 What is an “ontology”
FDE generated this text describing ontology in response to my prompt about my disagreements with the original (obviously) human-written text and my suggestions about what ontology really is (FDE mostly agreed with my suggestions):
- In the previous section, we created the all_orders dataset. A dataset is a table of rows and columns. It is useful for storage and transformation, but by itself it does not define how the business should interact with those rows.
- In this section, we create an Ontology object type called Order, backed by the all_orders dataset.
- The Ontology turns prepared datasets into governed business objects. An object type defines the properties, identity, relationships, permissions, and actions associated with a real-world concept such as an Order.
- This is more than a simple database table. Once data is modeled as ontology objects, Foundry applications can read it consistently, filter and link it to other objects, expose it through APIs, and modify it through governed actions.
- In this tutorial, the Order object type will let Workshop display orders, filter them, show details, and later update an order’s assignee through an action.
- We will define the Order object type using Ontology Manager.
Note: The PAL doc sometimes refers to “object types” as “objects”
“We will define the Order object by using the Ontology Manager App.” It should be “we will create an Order object type…”. FDE confirmed this.
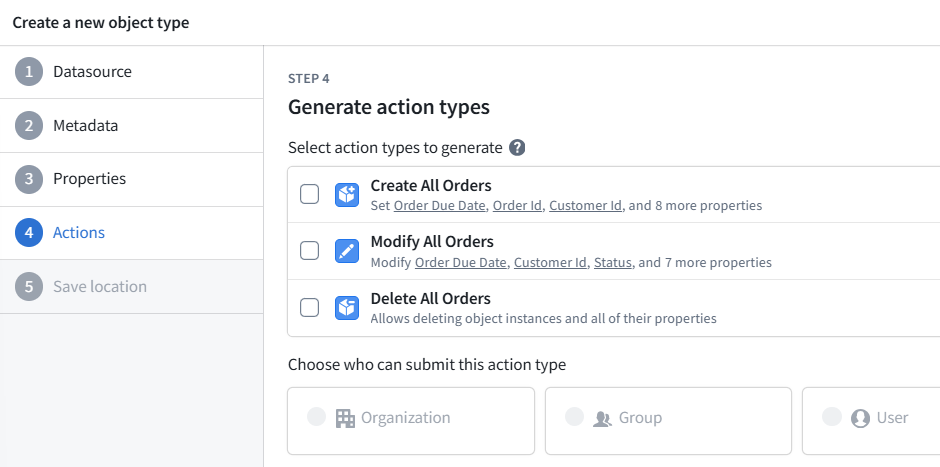
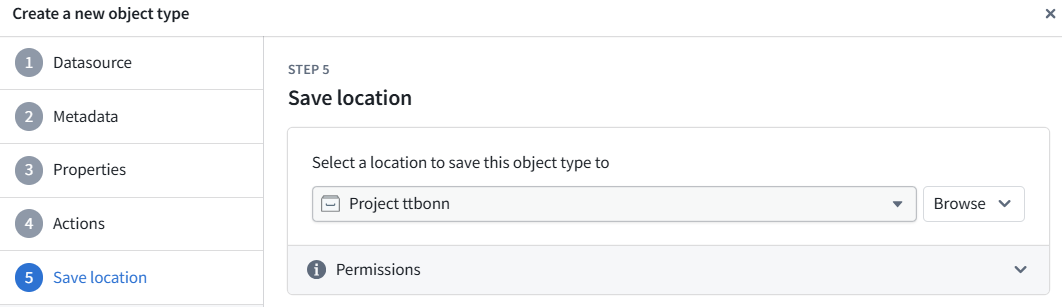
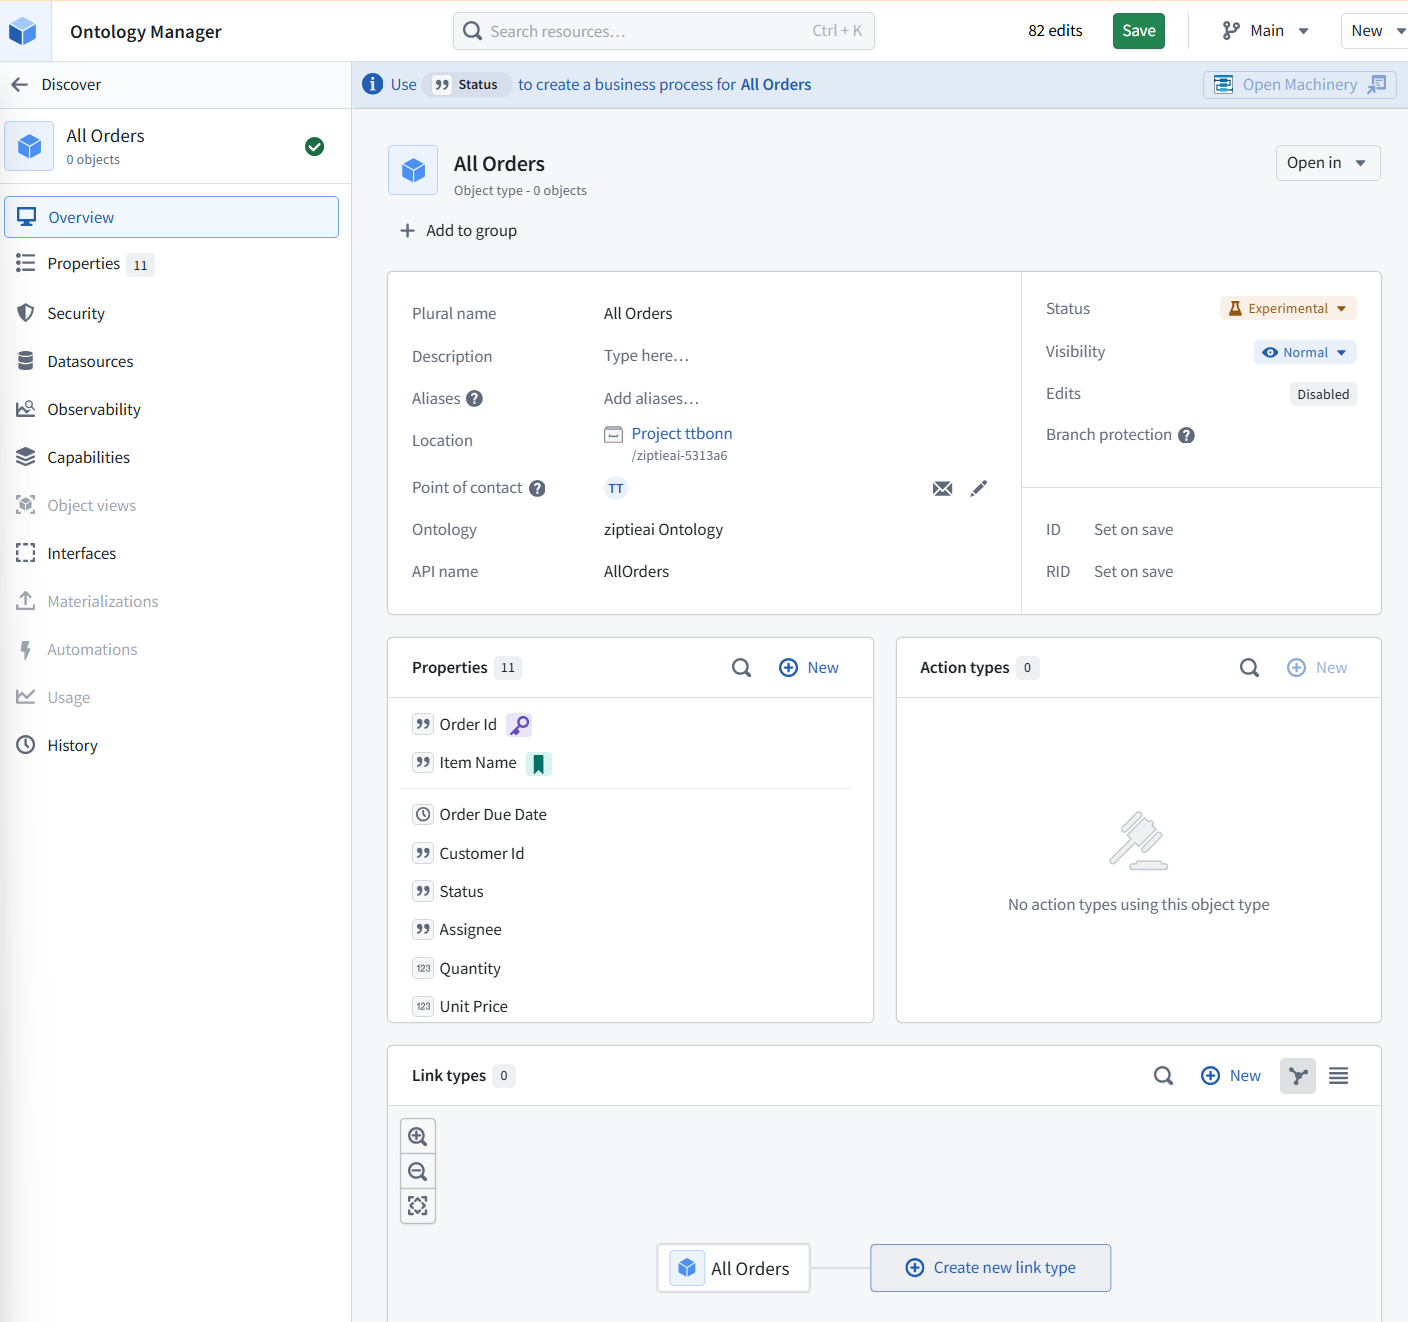
5.2 Create the object type for all_orders

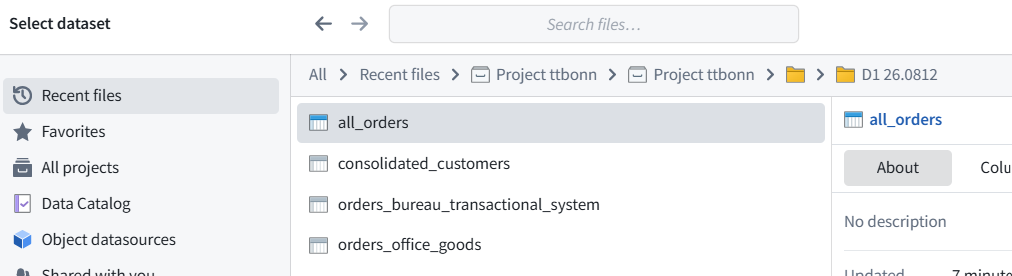
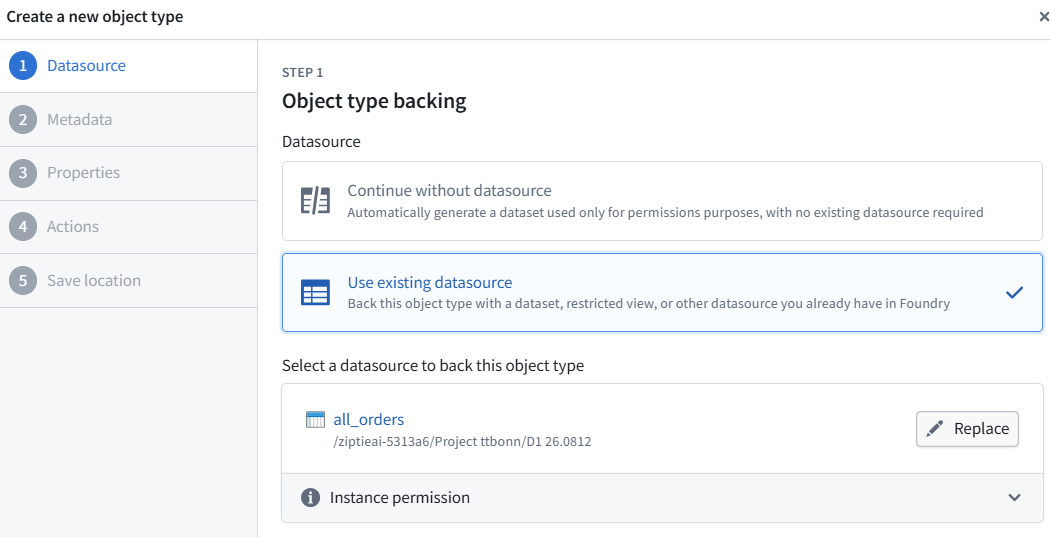
I mistakingly named this “All Orders” because I thought the single Order object would contains all orders. If I had just trusted the UI (which is correct) and not the docs, then I would not have made this mistake. In a future version of this demo I will get all the names correct.


5.3 Summary
FDE:
- We now have an Ontology representation of the prepared
all_ordersdataset. TheOrderobject type gives the application a governed business-object view of the data, rather than working directly with table rows and columns. - We are now ready to build the core of the app: UI logic that reads, filters, displays, and modifies Order objects.
- In this demo, modifications made through the app will update the Ontology edit layer. They will not write changes back to the original backing dataset.
Phase 1 final test: View/compare dataset/ontology
Pipeline/dataset
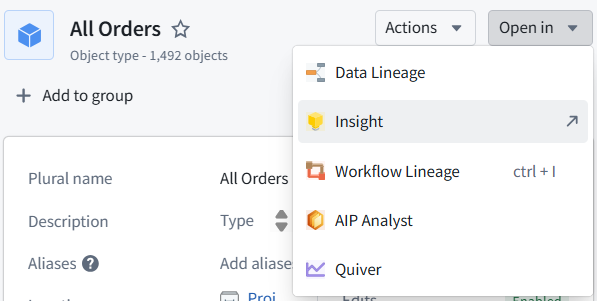
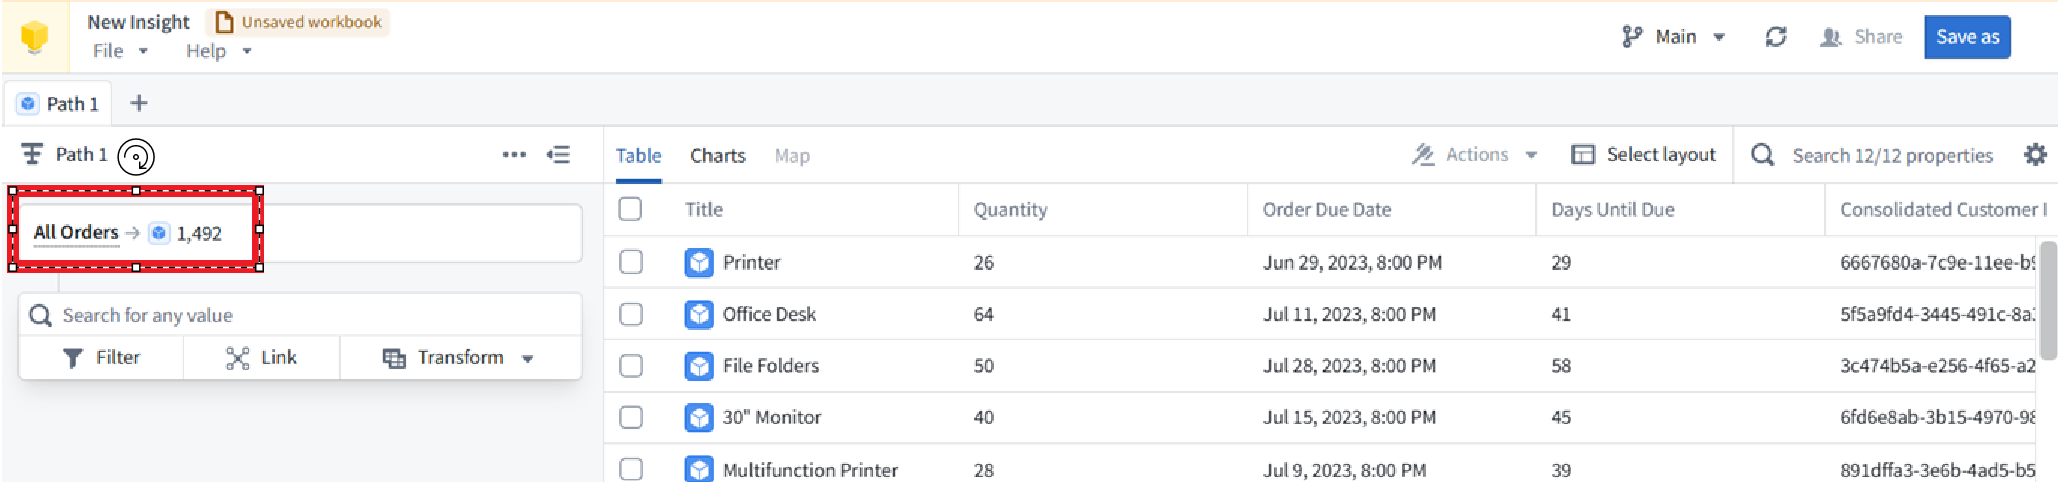
View ontology (in Insight)
26.0819 (v1 26.0816)