D1 Phase 3 -- Action UI (steps 23-32 (action type), 33-36 (UI))
In Phase 2, we created a UI that displays ontology data (objects and their properties). In this final phase, we add the ability to modify ontology objects through the UI and display the resulting changes.
TOC
- 7 Create action type for the object type (from 5.1) (23-32)
- 8.3 Attach action type to UI button (33-36)
- Phase 3 final test
7 Create action type for the object type (from 5.1) (23-32)
Note: There is no “master diagram” for actions because the process is fairly simple.
TOC
- 7.0a Action type concepts
- 7.0b Specific Action types in this demo
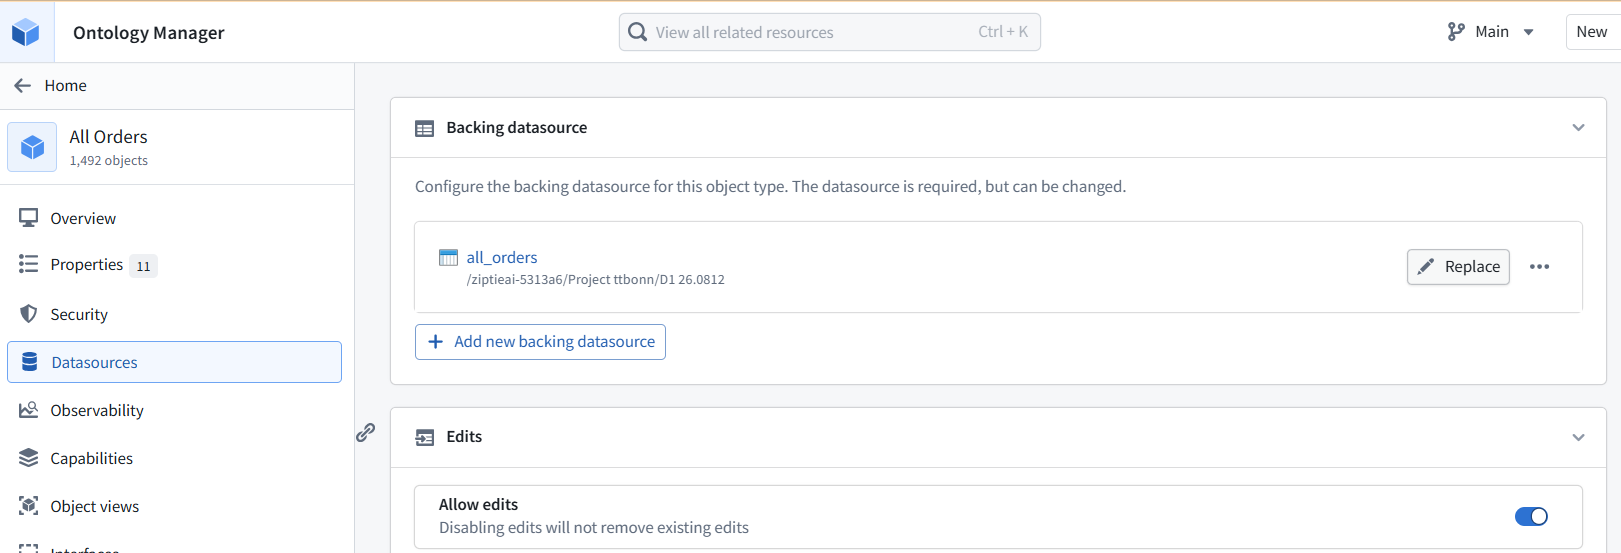
- 7.1 Allow edits for object types (the action can edit the object type)
- 7.2 New action type (for this object type)
- 7.3 Resulting action type / rules (what an action does)
- 7.4 Resulting action type / parameters (what info the action needs from user/app)
- 7.5 Resulting action type / user interface
- 7.6 (30b) Save changes (this is easy to forget!)
7.0 Action type concepts
FDE: We need an action type because the app should not modify data arbitrarily. An action type defines a governed operation users are allowed to perform on ontology objects. Action types provide a governed “API” for enterprise actions:
- who can do what
- to which object
- with which inputs
- under which rules
- with what audit trail
So instead of users changing data randomly, they execute structured operations:
- Assign Order
- Approve Request
- Create Ticket
- Dismiss Anomaly
- Update Eligibility Decision
That gives the platform a crystal-ball view of:
- what action was taken
- by whom
- on which object
- when
- with what parameters
- and what changed
7.0b Specific Action types in this demo
Assign Order action
- → modifies an Order object
- → sets Status = assigned
- → sets Assignee = selected user/value
So the action type is the controlled write mechanism:
- UI submit → ontology action → object edit
This will allow you to do the following in the UI
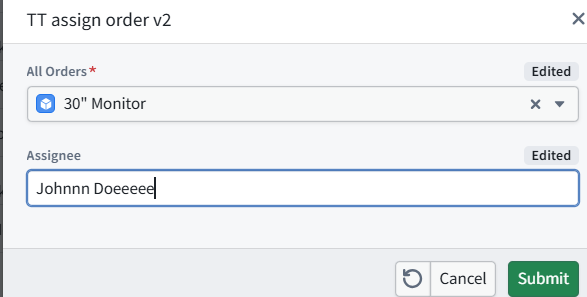
- select the object (of the object type “All orders”)
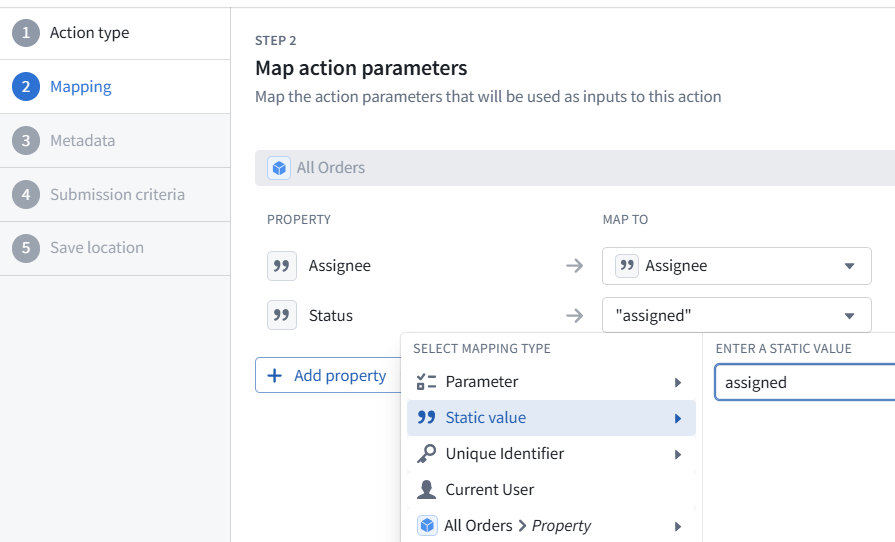
- enter static value for Object “Assignee” property
- the object “Status” property is statically set to “assigned”
7.1 Allow edits for object types (the action can edit the object type)
(23)
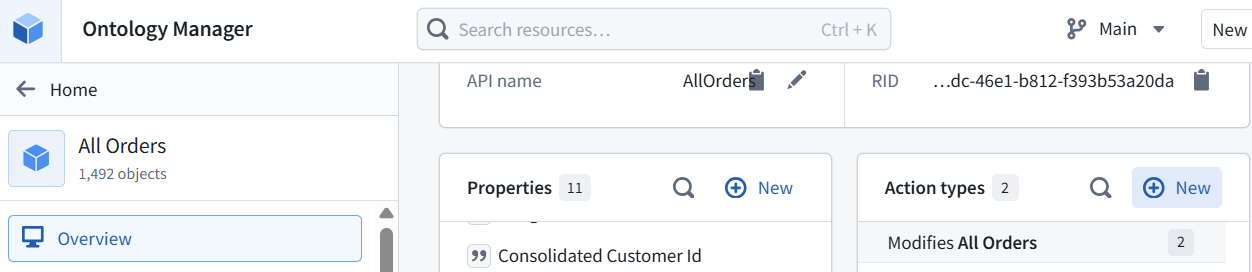
7.2 New action type (for this object type)
(24) Click on “Action types / New”.
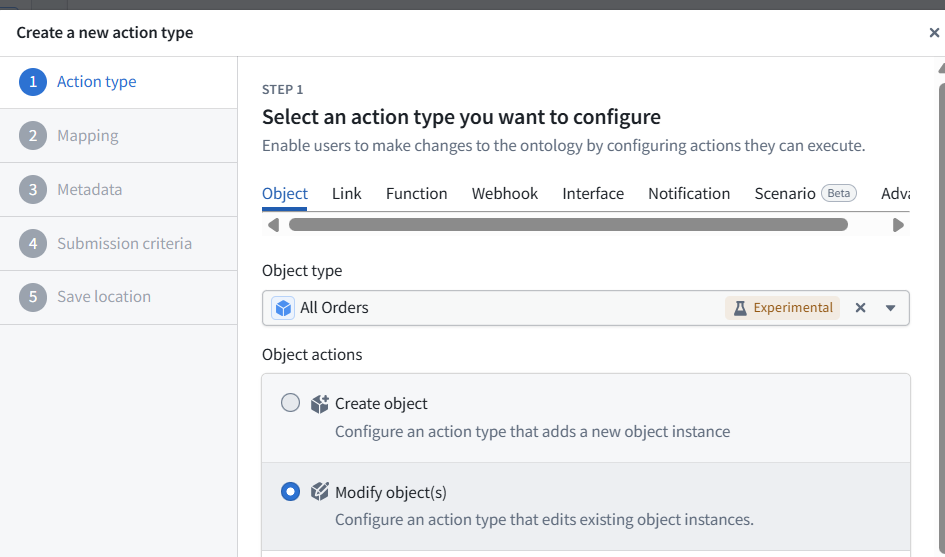
(25) Select “Modify object(s)”.
(26-27) Map action params.
Note: “Map action parameters” settings is described below in 7.3-7.5.
(28)
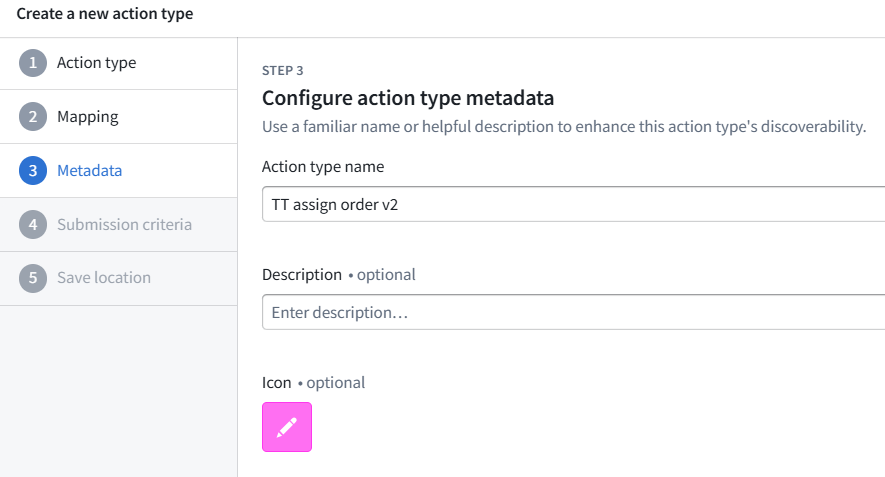
(29)
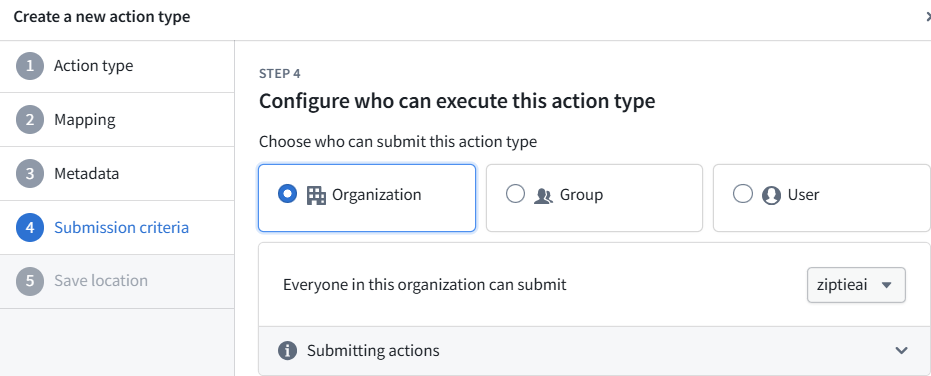
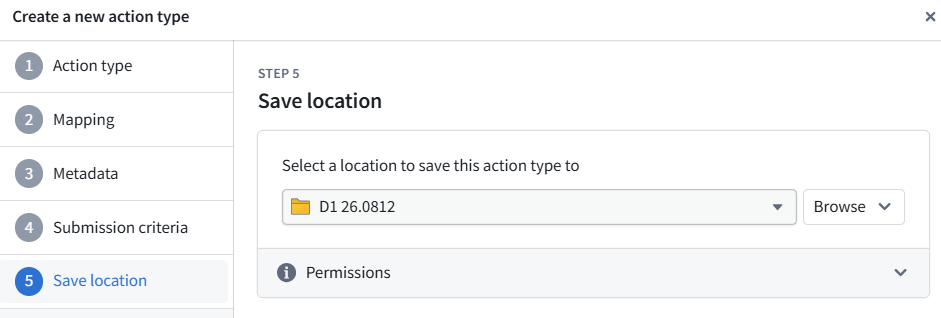
(30a) The action type is a separate file from the object type.
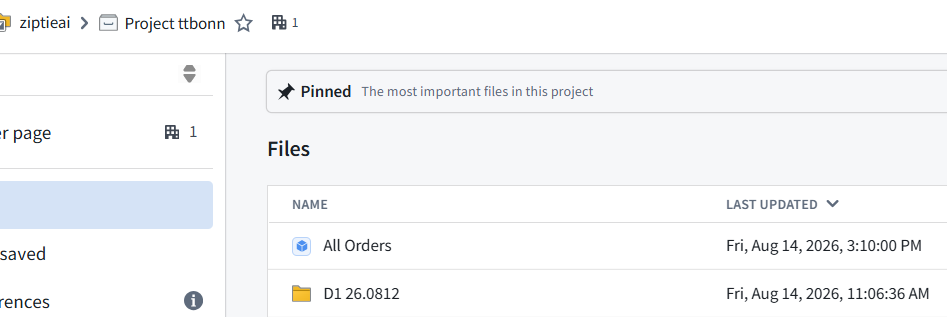
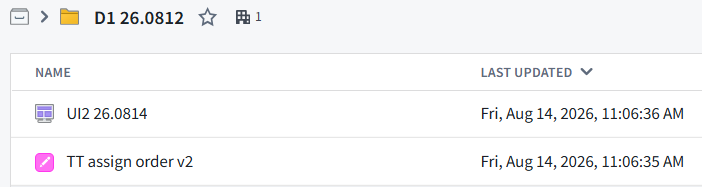
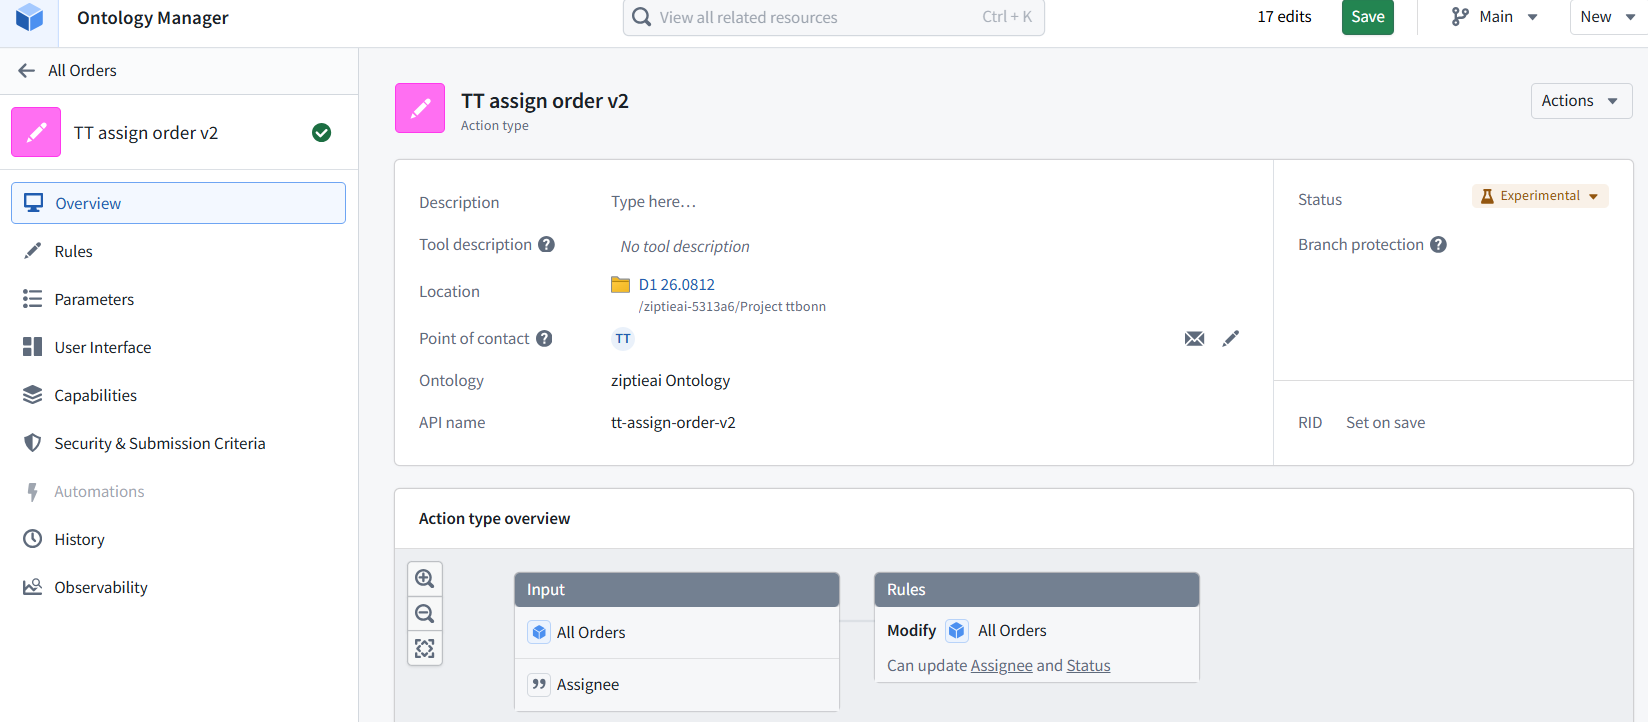
Resulting action type / overview.
Note that there are no dependents (not used in the UI yet).
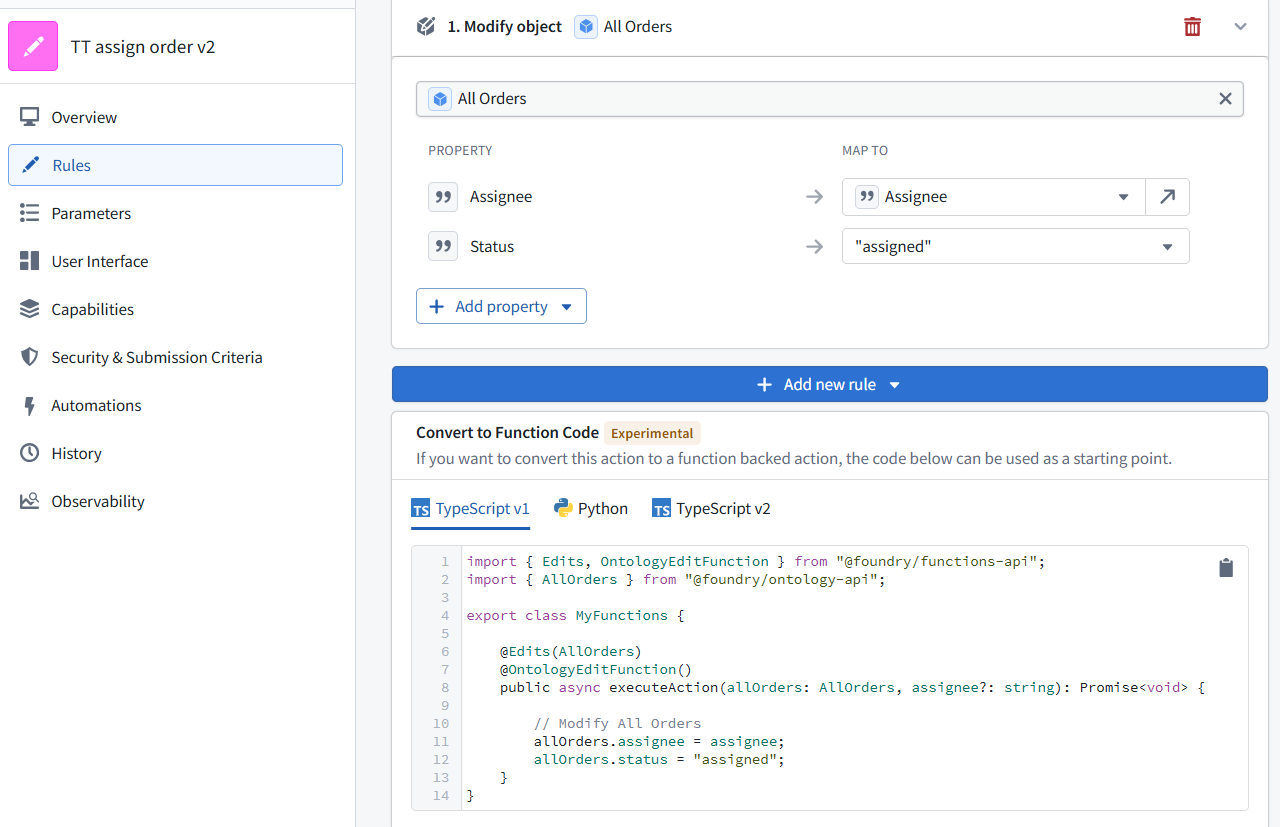
7.3 Resulting action type / rules (what an action does)
Rules define what the action actually does. Examples:
- Modify All Orders object
- Status → “assigned”
- Assignee → action parameter Assignee
So rules are the write logic:
- which object type/property changes
- what values are written
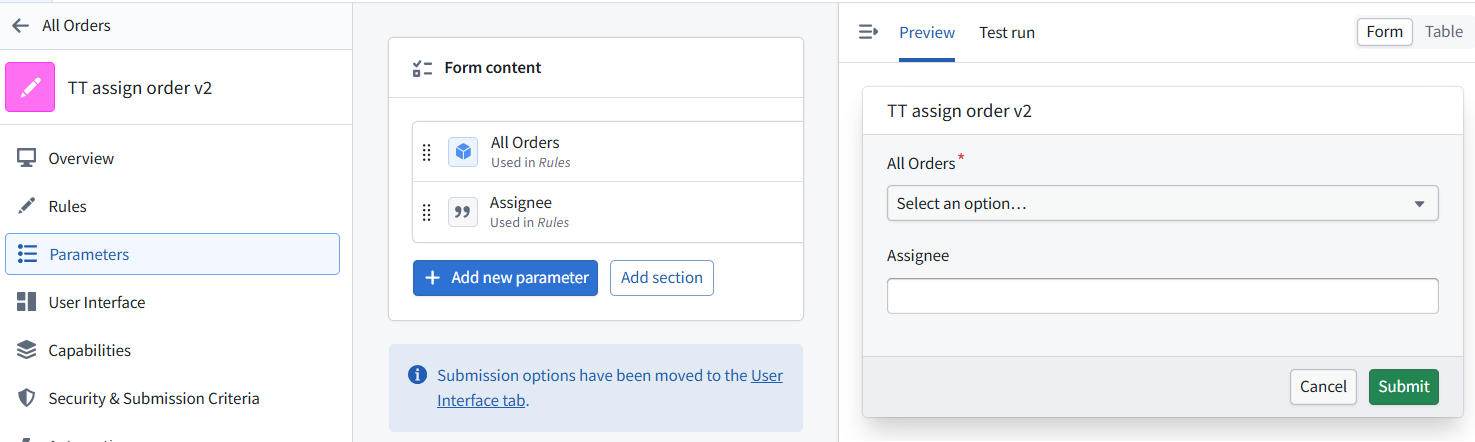
7.4 Resulting action type / parameters (what info the action needs from user/app)
Parameters define what information the action needs from the user/app. Examples:
- All Orders = which order to modify
- Assignee = who to assign it to
7.5 Resulting action type / user interface
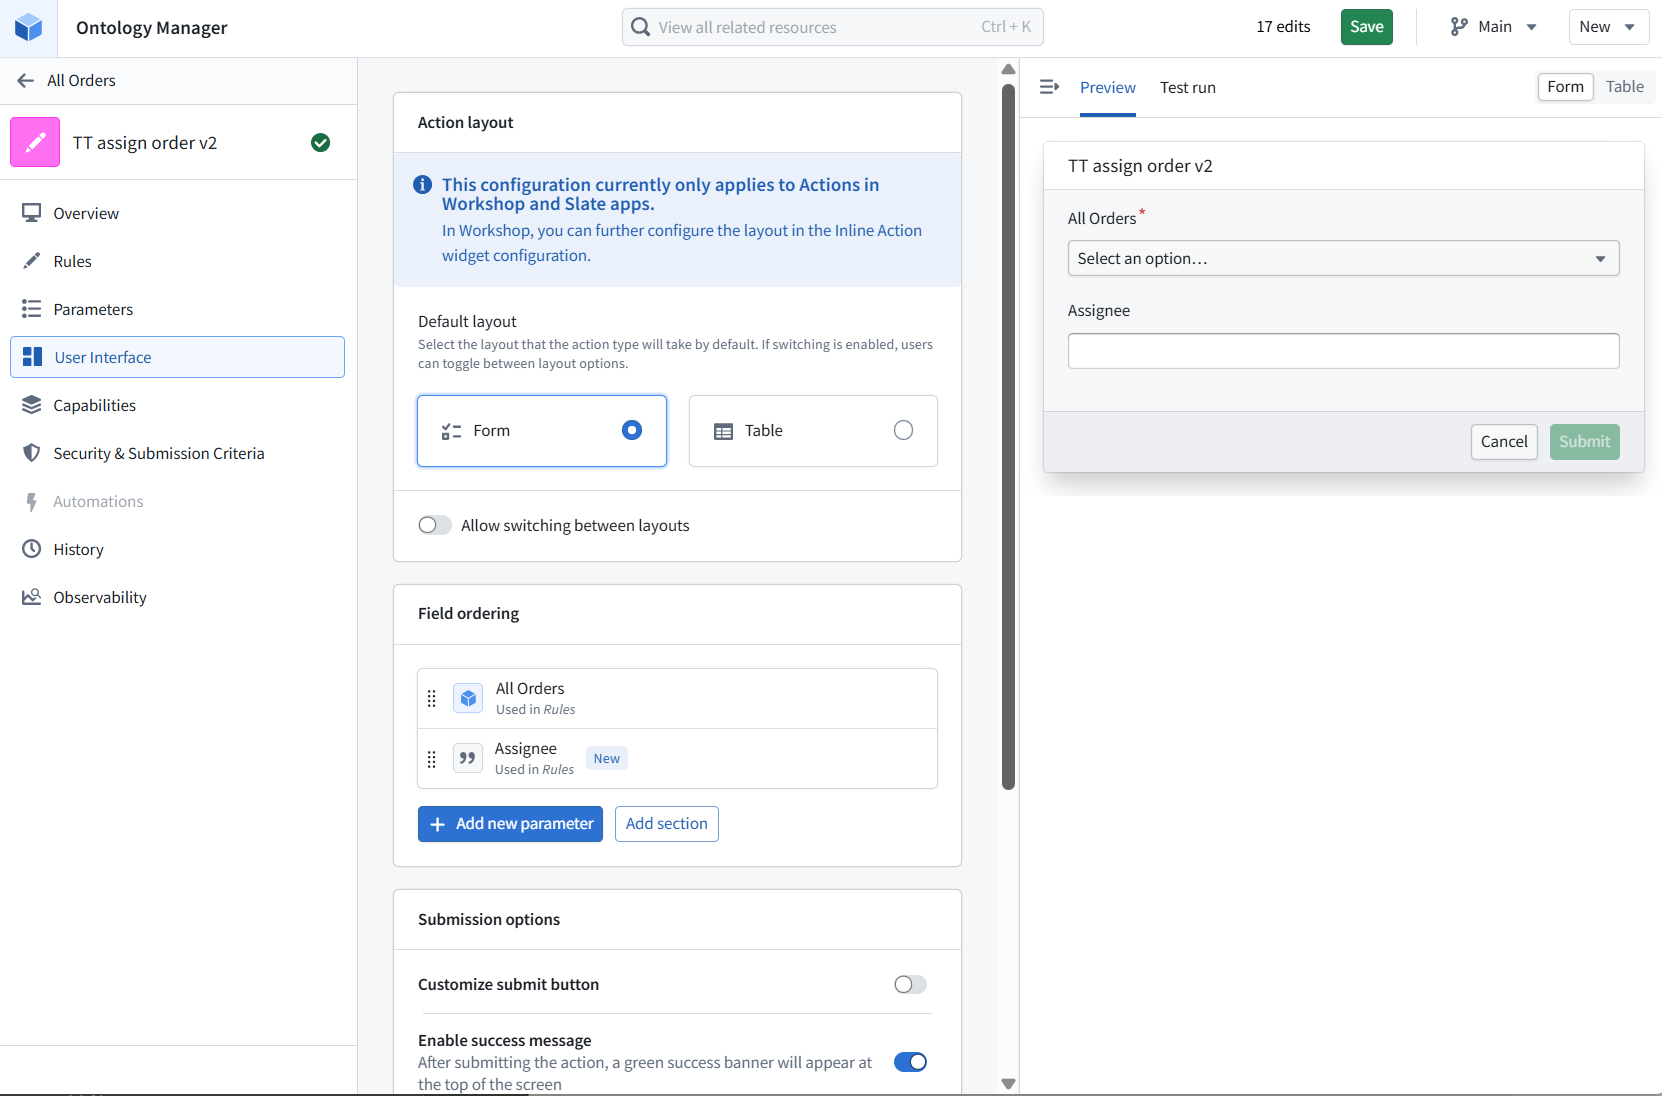
The User Interface tab defines the default form layout for the action. It controls how the action appears when used in Workshop/Object Views:
- field order
- form vs table layout
- submit button behavior
- success message
- required inputs
It is the default UI for collecting action parameters.
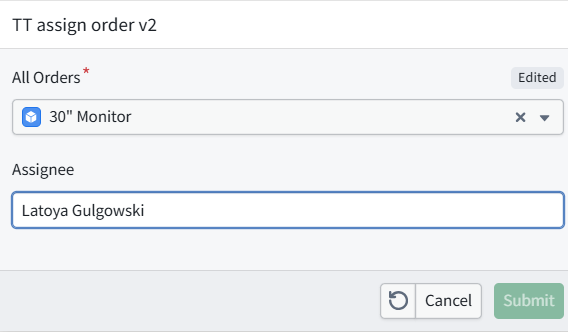
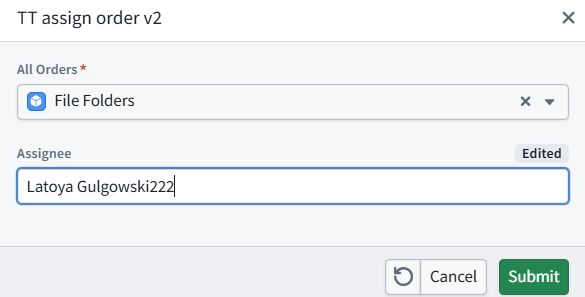
Resulting UI popup
7.6 (30b) Save the changes (this is easy to forget!)
8.3 Attach action type to UI button (33-36)
Overview diagram
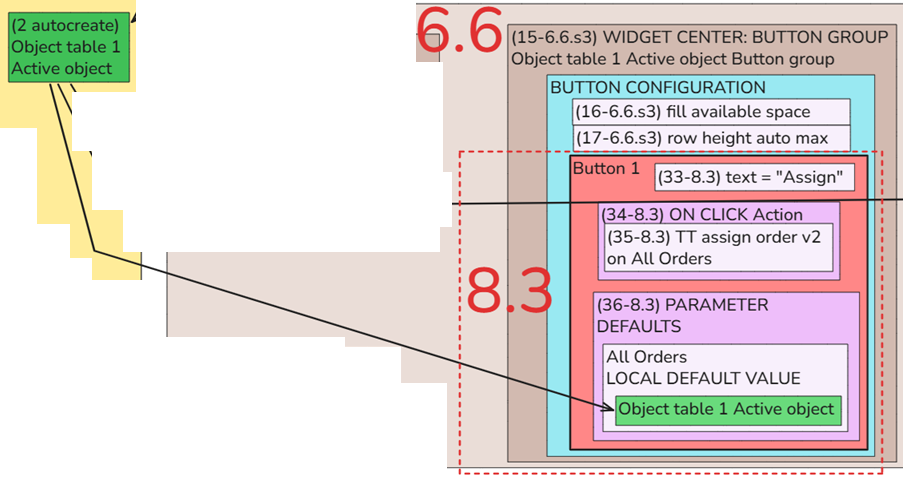
Add the action type to the UI
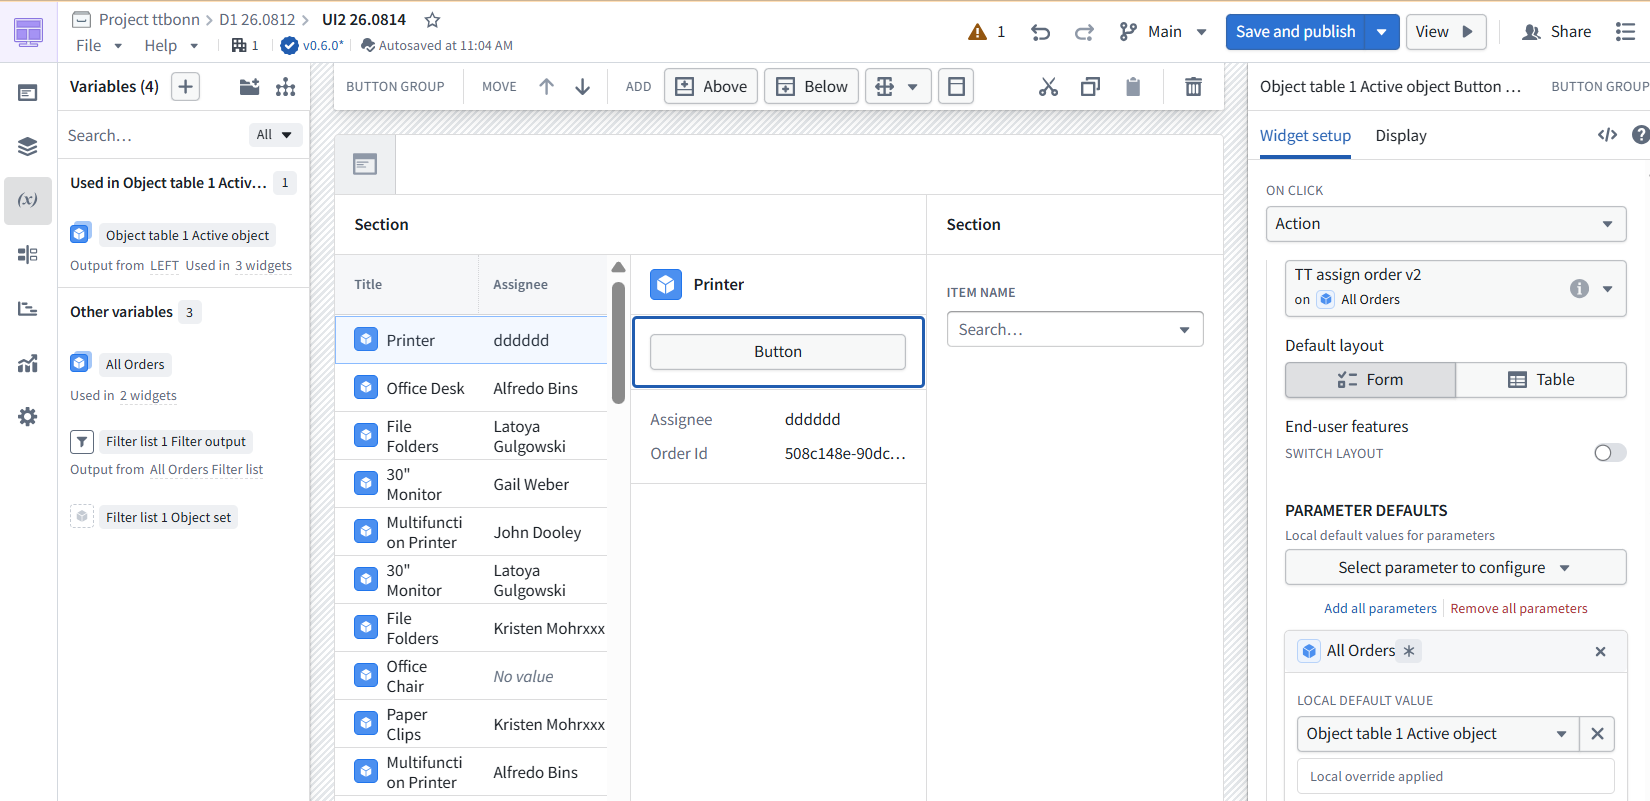
(33-8.3) text = “Assign”.
(34-8.3) ON CLICK = Action.
(35-8.3) TT assign order v2 / on All Orders.
(36-8.3) PARAMETER DEFAULTS = All Orders
(37) LOCAL DEFAULT VALUE = Object table 1 Active object
Phase 3 final test
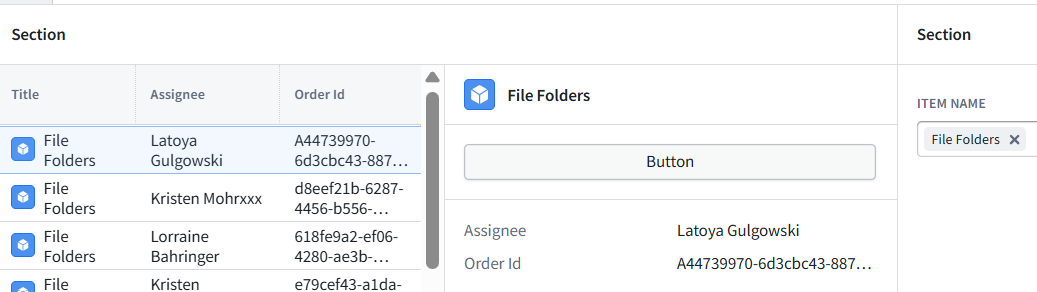
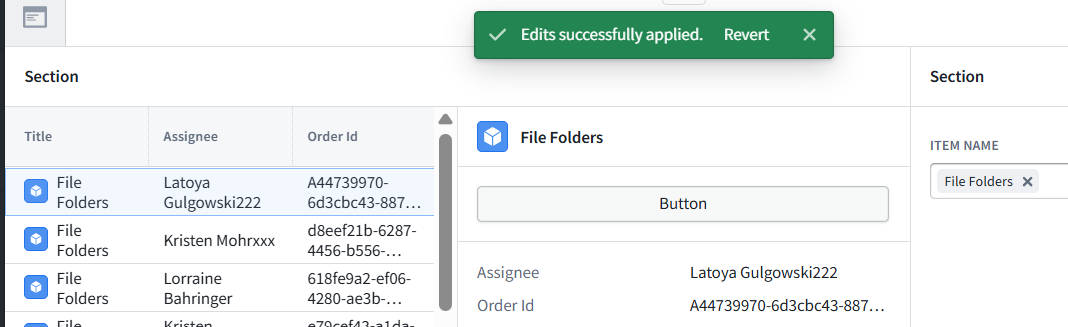
NOTE: This updates the ontology (object (instance) of the object type) but not the datasource
26.0819 (v1 26.0816)